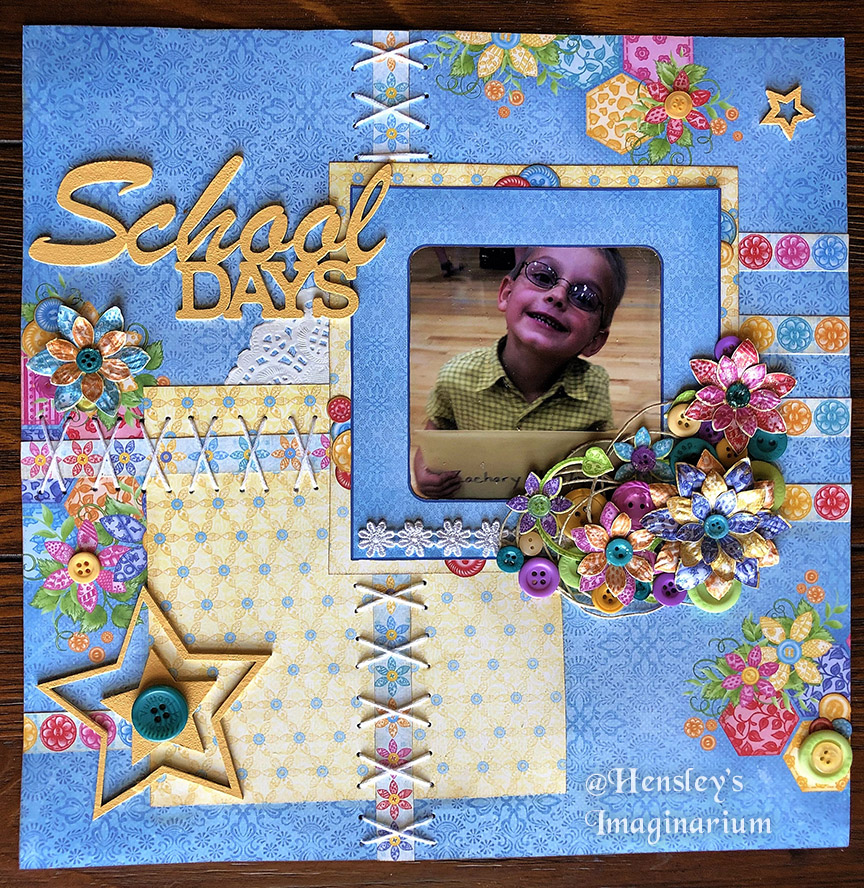
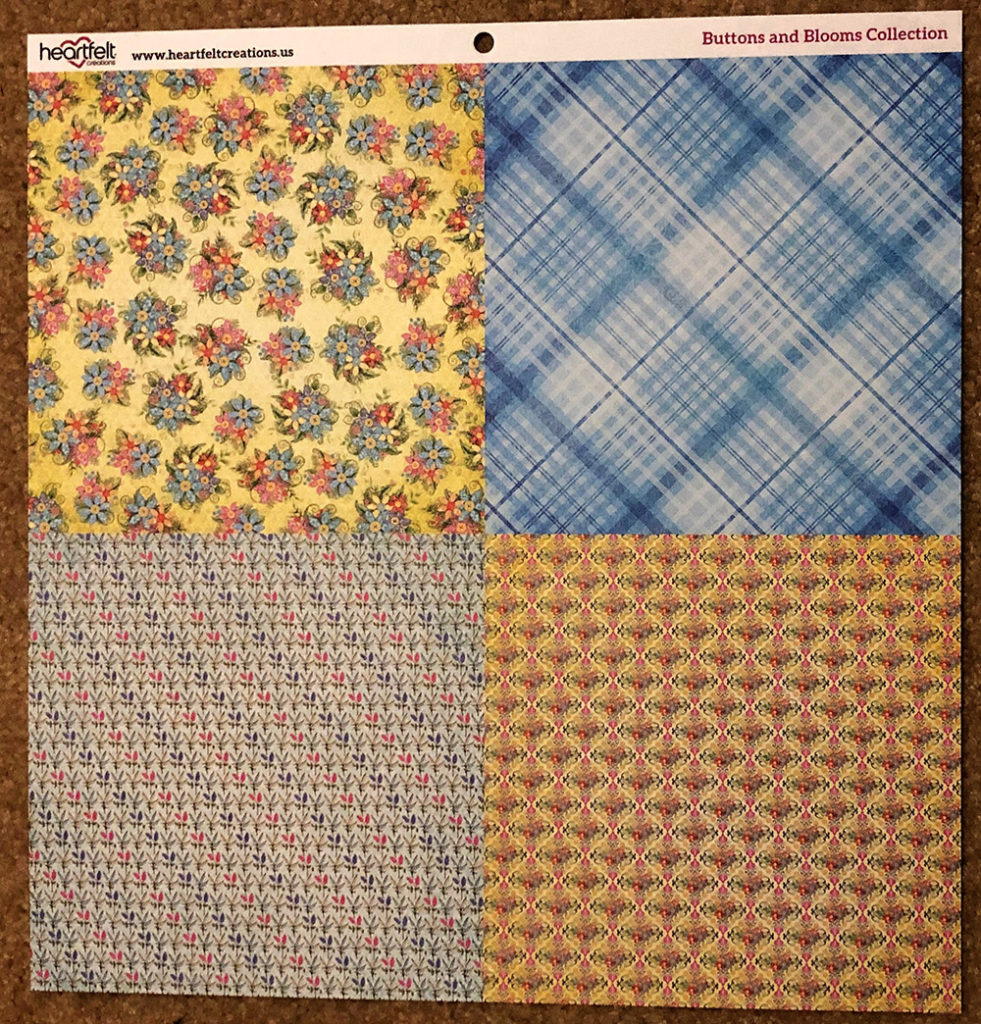
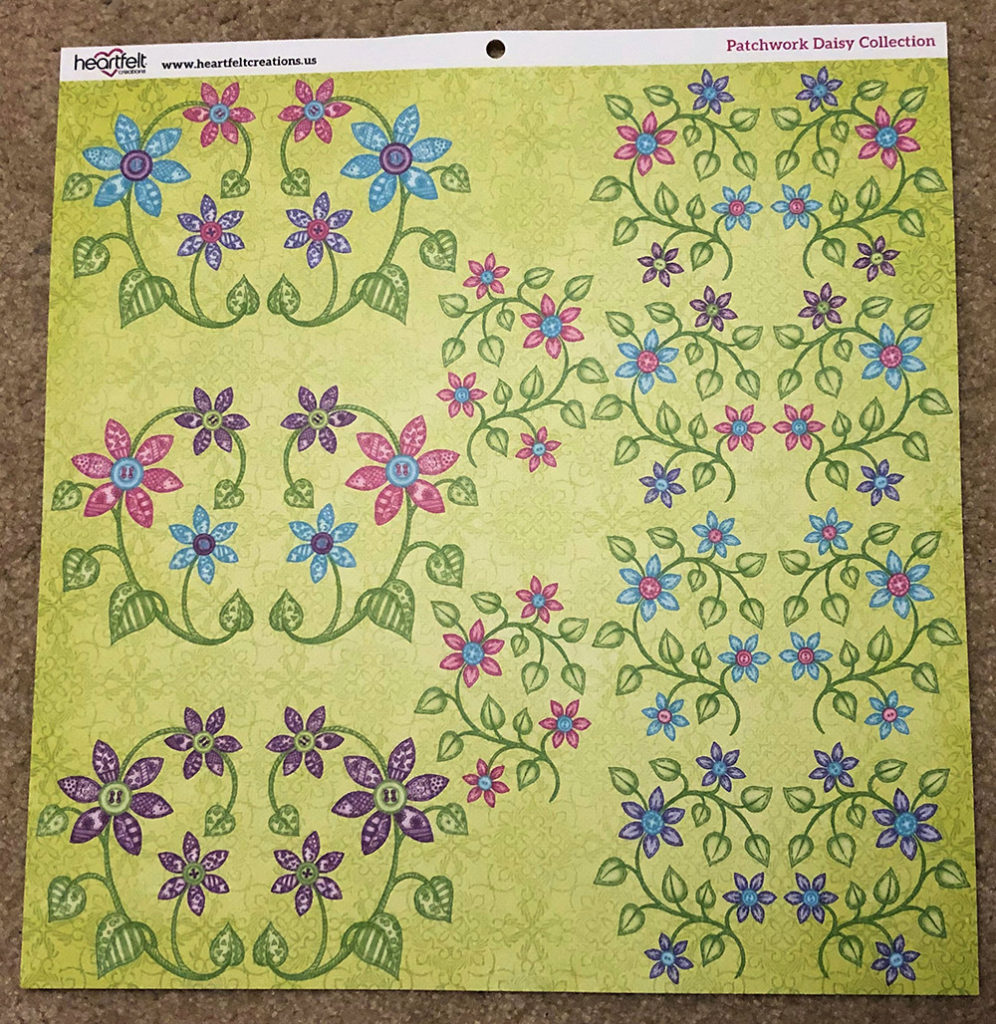
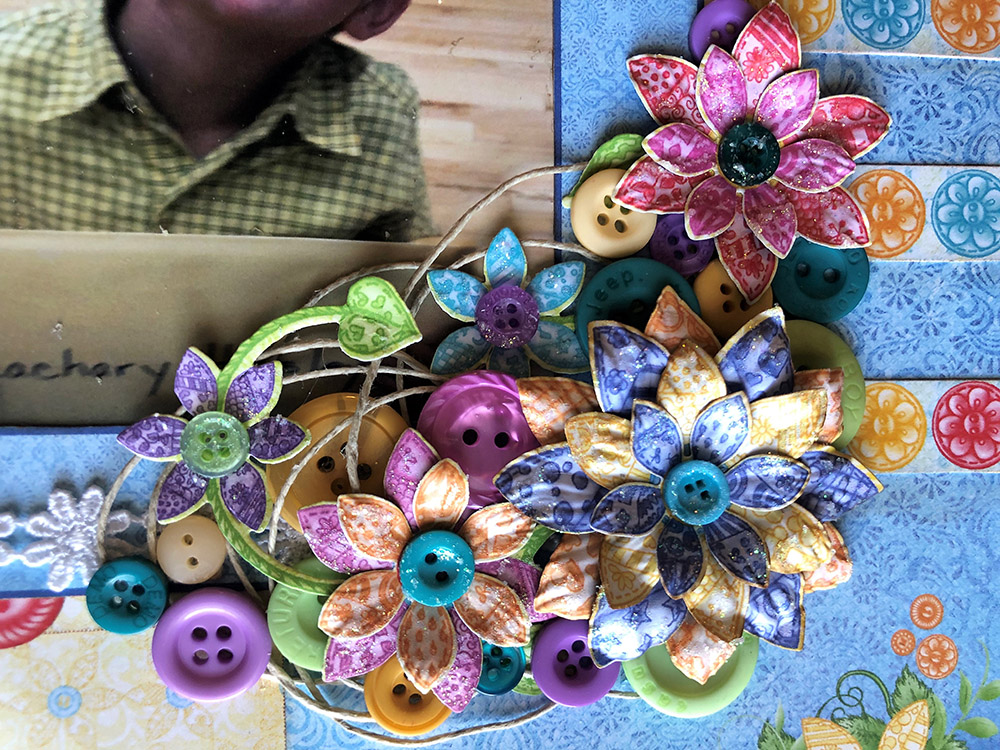
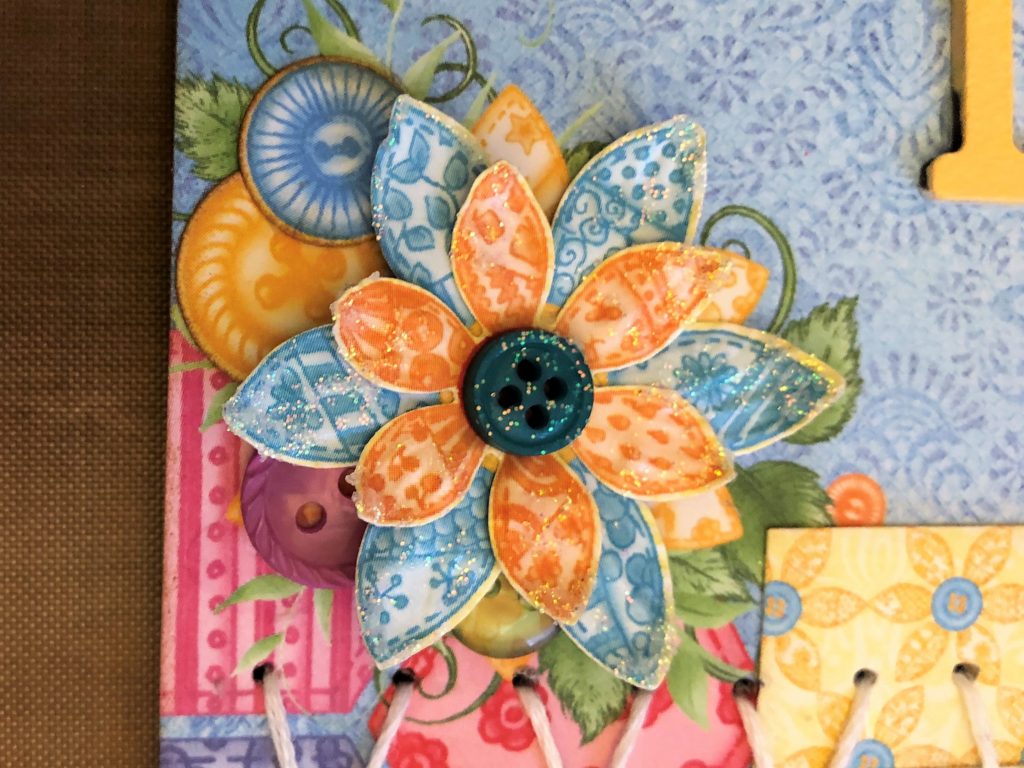
If you haven’t heard of Heartfelt Creations, this layout uses a lot of their stuff. I’ve been using their products for several years and I absolutely love their papers and die cuts. This layout is primarily done with the Buttons and Blooms Collection. I featured Patchwork Daisy in the photo below because I did use one piece from that paper pad, but to be honest you could get by without it if you don’t have the paper on hand.
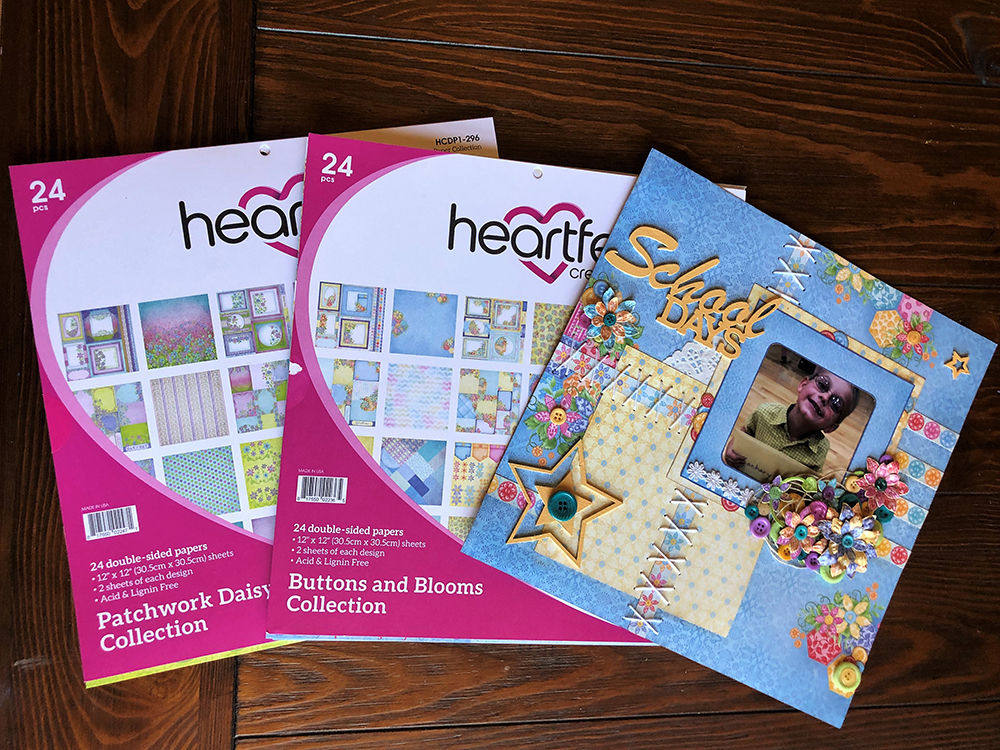
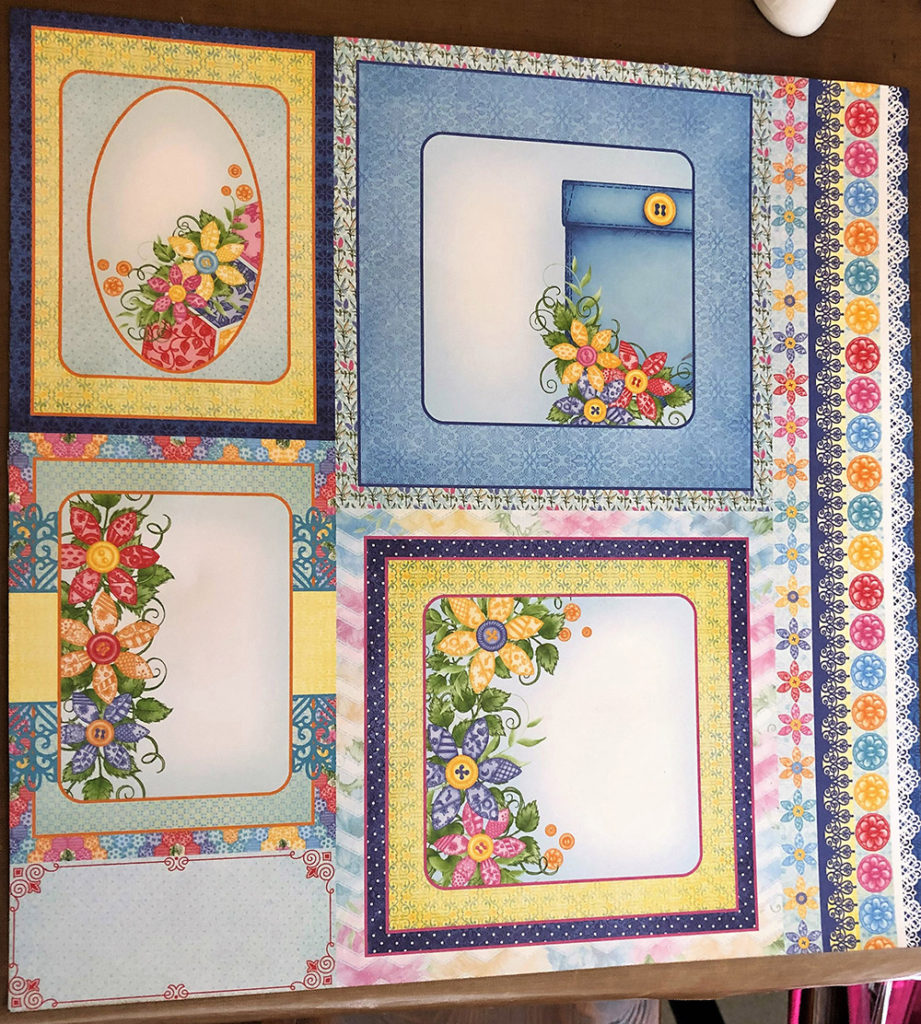
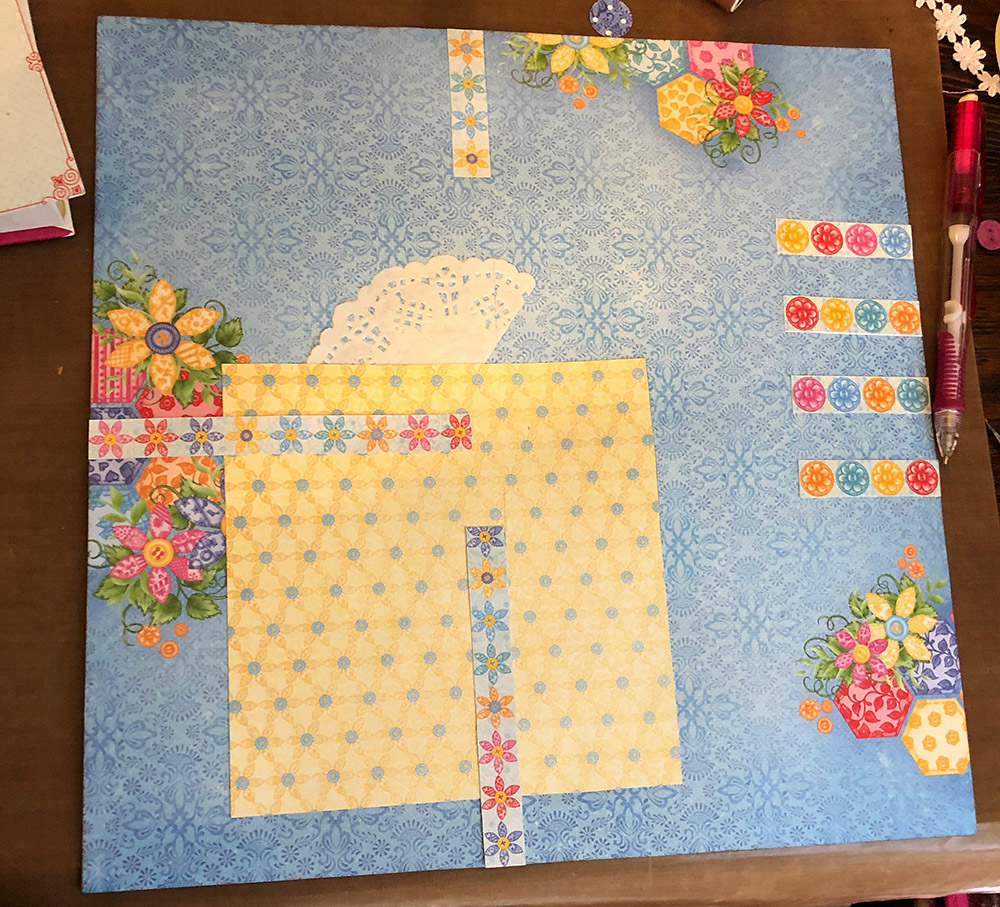
The Heartfelt paper pads have two of each design so I started with both copies of the page to the left. If you flip one of them over it’s the background for the page I made. The second page I cut three pieces out of, the blue square, the strip of flowers, and the strip of adorable buttons.
I cut the strip of buttons into sections that had four buttons each. For the flower strip, I cut it in half and then took a section of four flowers from the middle so that the partially cut off flowers on either end were hidden when I glued it all together.
For the second page, I just cut out two of the squares that I felt I was least likely to want to use later and used the backsides for the two large yellow squares on the page.
I also edged all my cut out pieces with vintage brown ink but you can get by without doing so.
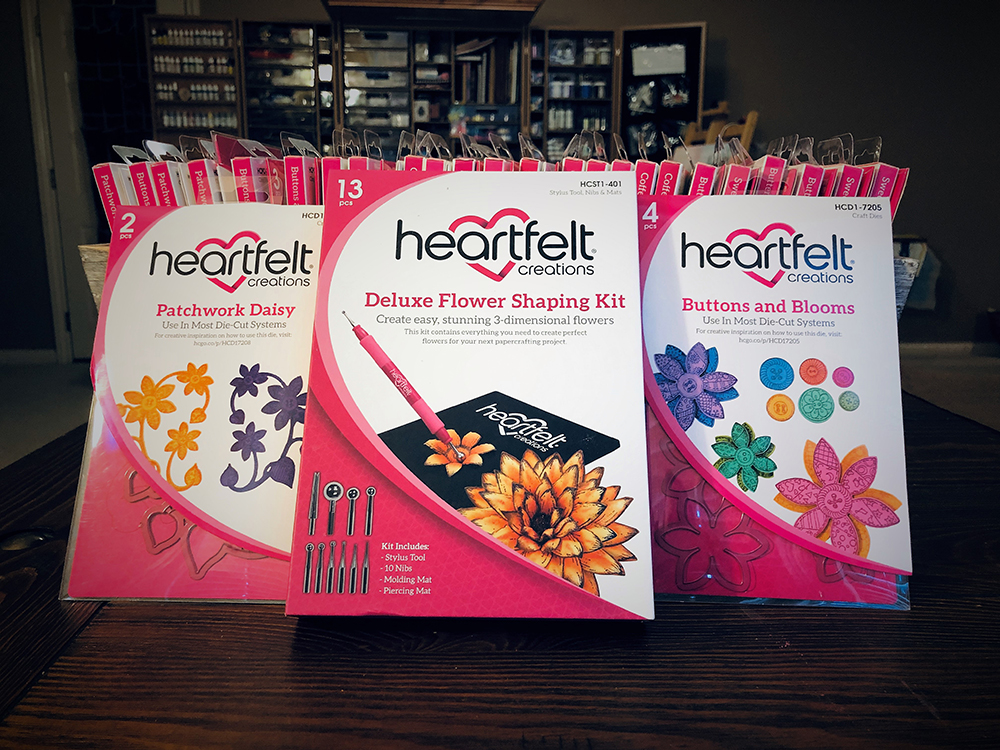
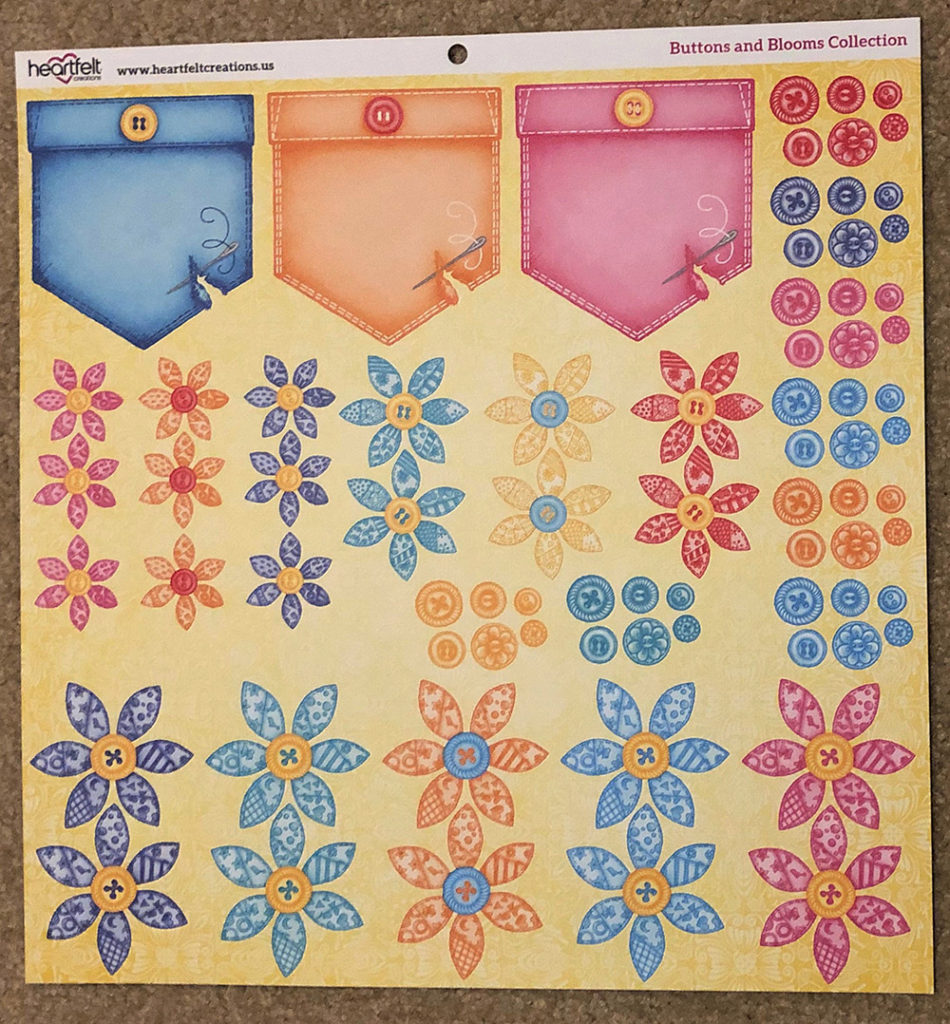
From here I realized I needed buttons to go with my blooms! So I went ahead and die cut this whole page of flowers and buttons. In the end, I didn’t use near all of them, but since I knew I needed to make a birthday card later anyway, I decided to go ahead and do the lot of them.
I love these little pockets! I cut those out too and put them in my art journal.
On the right is the one page I used from the Patchwork Daisy line. While I die cut two of them, I only used one of the big ones on this project and you could easily get by without having this by substituting other leaves or more flowers.
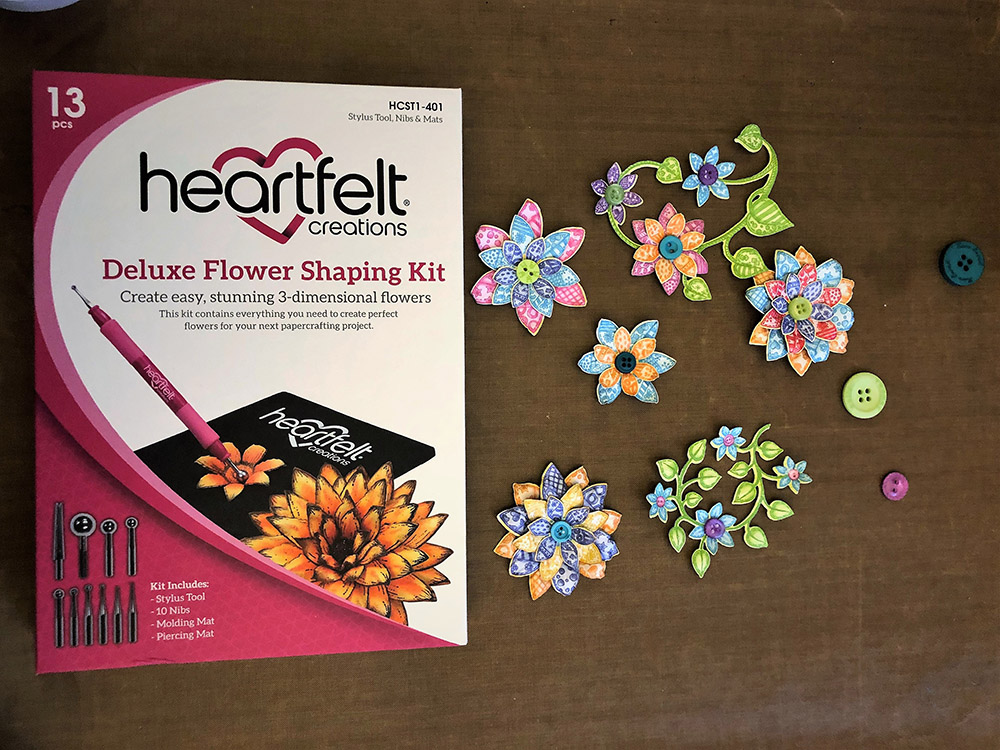
One of the most fun things about Heartfelt is their flowers. They have a great system worked out for making beautiful flowers that look incredibly realistic. These are cutesy and don’t quite show it off as well as some of the other flowers I’ve done, but you can check out how to use the shaping kit on their website and see all the lovely flowers others have made.
Once I had my flowers shaped how I wanted them, I used buttons for the centers and a q-tip to apply bits of Nuvo Glimmer paste.
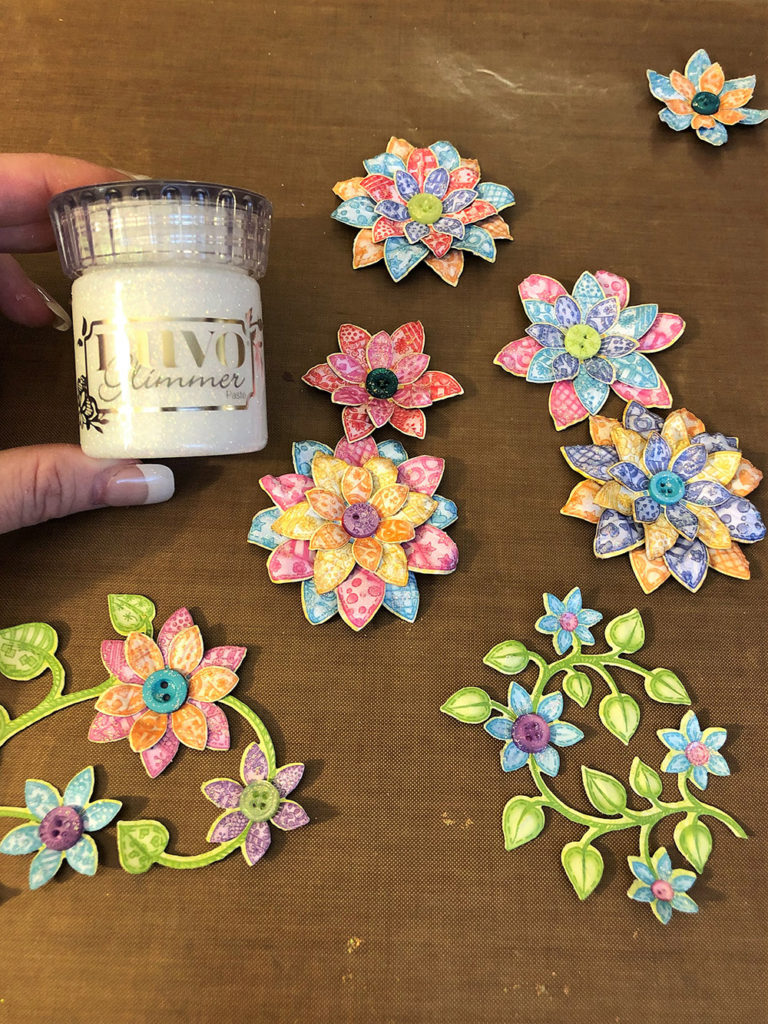
I wanted real buttons as well so I used quite a few from 28 Lilac Lane. The two collections I used were Gemstones and Queen Bee. You can pick those up at the links provided from Scrapbook.com or just substitute whatever buttons you feel like.
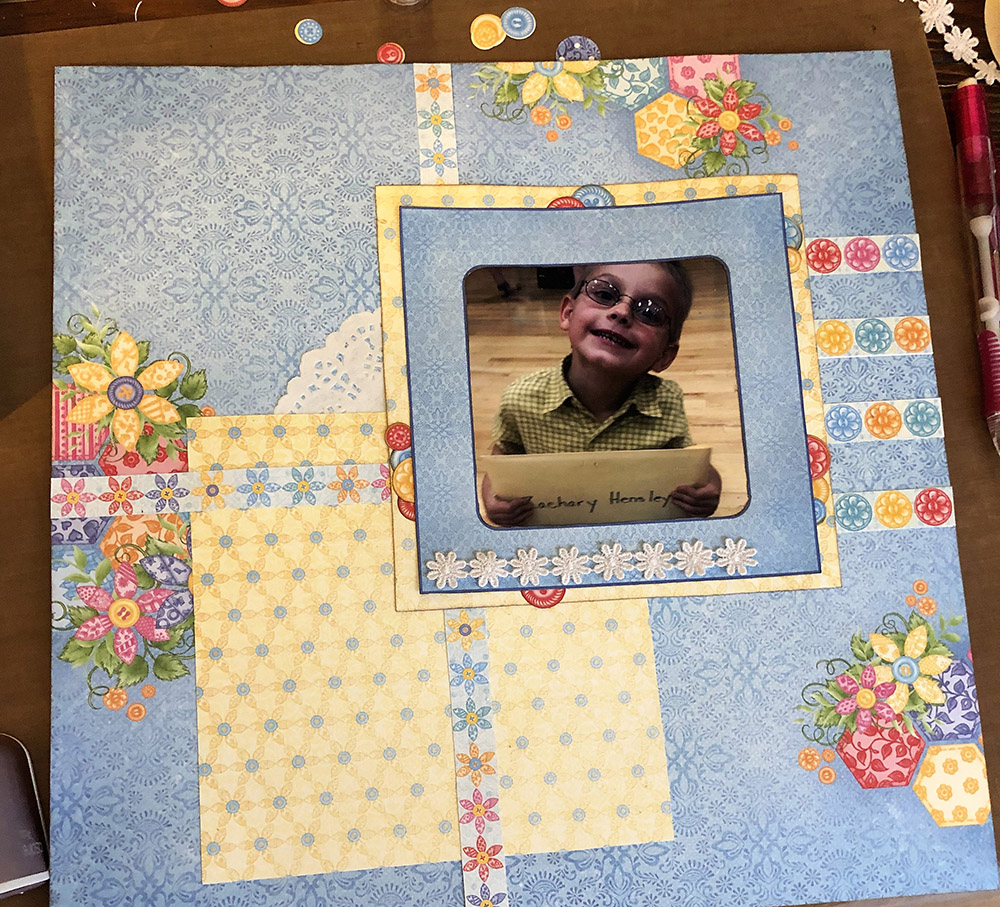
After setting the flowers aside to dry I collected some of the paper buttons and put together my photo frame. Be careful when you’re gluing the blue frame to the yellow block that you leave a bit of room around all the edges of the frame so you can tuck buttons in!
From here I laid everything out on the page to see where I wanted it and used a pencil to mark off the edges of where the large squares were so I got their placement right.
I also cut a small section from a white paper doily I had and a small strip of lace flowers.
You can get the doily’s at Michaels and the lace I buy in bulk at Joann’s when it’s on sale, but you could easily substitute other lace or skip it entirely if you like.
After I got the pencil marks in place I glued all the background bits down, erased the marks just in case, and then glued my photo section on top of it all.
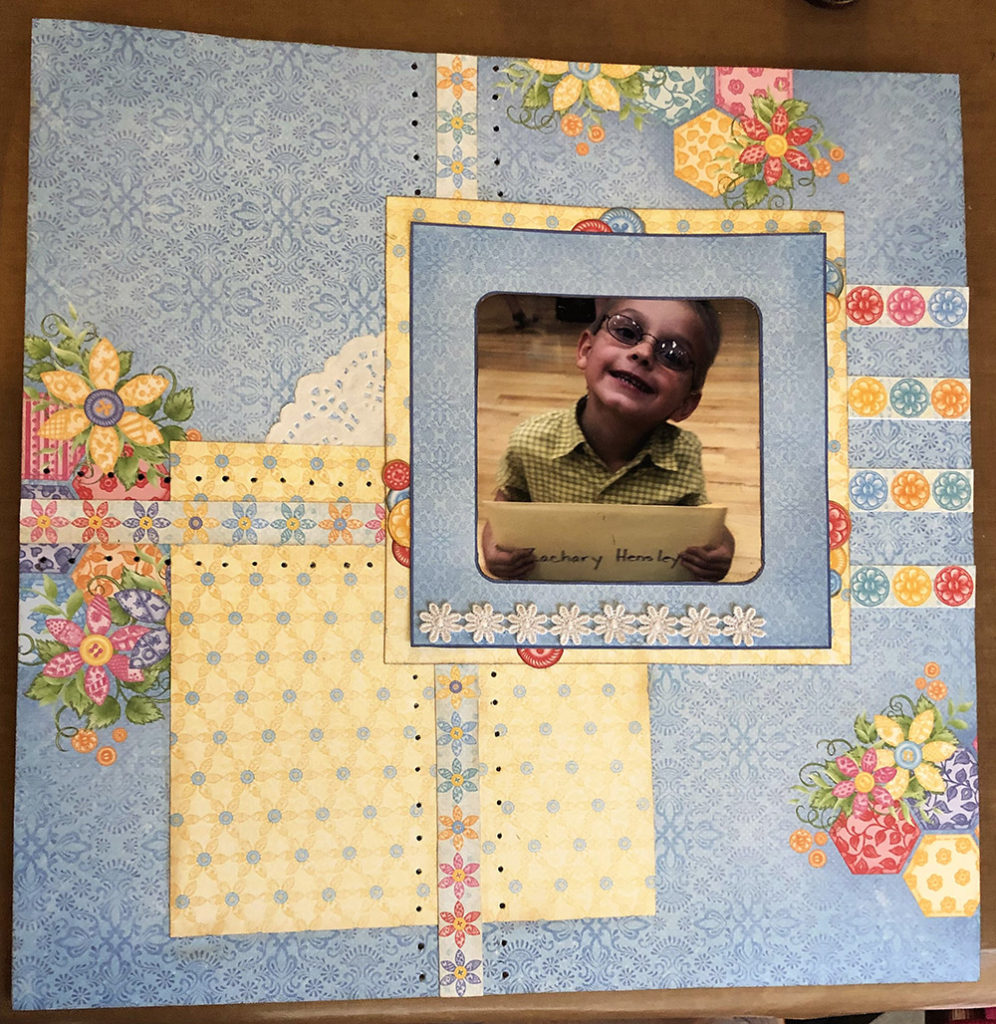
Time for sewing! You’ll need a pencil, a bit of white embroidery thread, a large craft needle, and something to punch holes. I used my Spellbinder Tool N One but you could use whatever’s on hand.
I marked the places I wanted to punch holes with a pencil. Make sure they’re roughly evenly spaced and a bit out from the flower strip to make a large X shape.
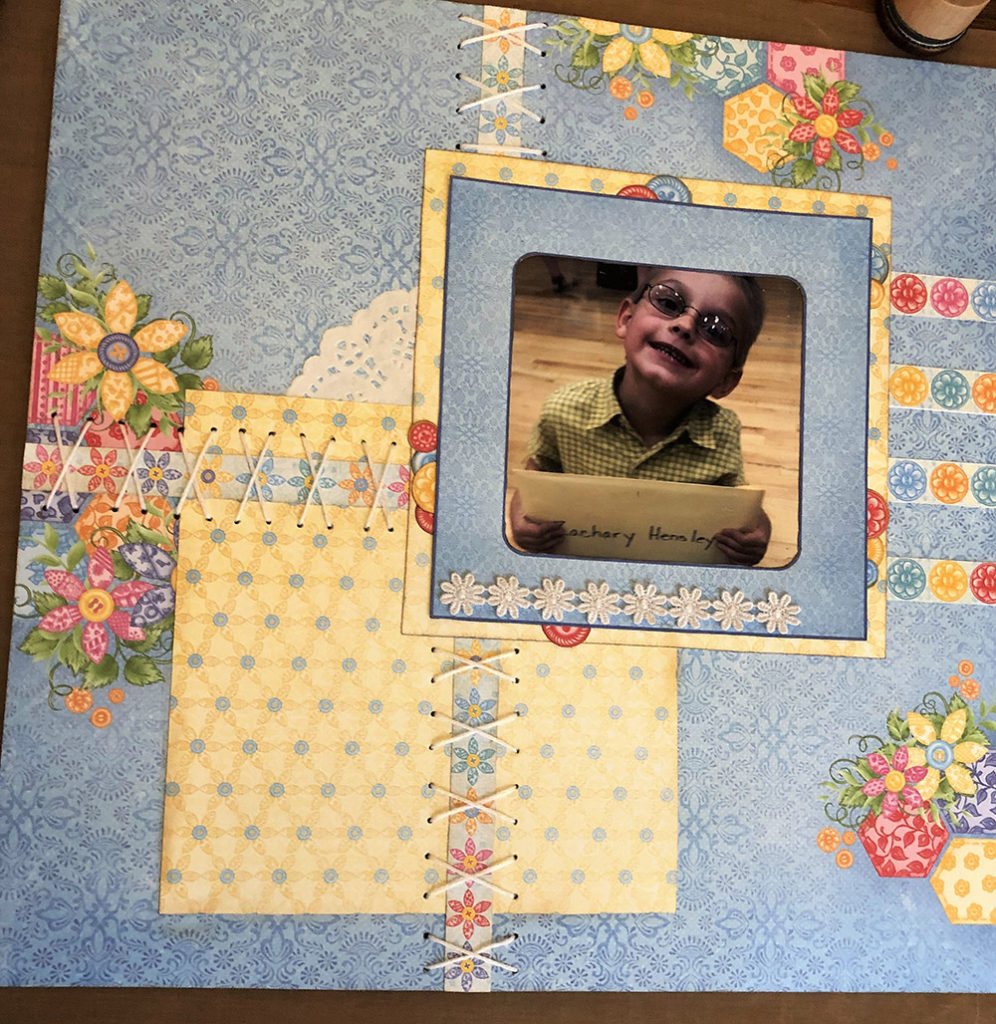
I just threaded the embroidery thread through in a criss-cross pattern. If one of your sections happens to have an odd number of holes, like mine did, just do a straight across stitch for the last hole. You can avoid having to do this by counting your marks and making sure there is an even number in each section.
Be sure to tape down a small section to the back before you start and of course the end when you finish. I used a piece of washi tape but any manner of tape will do.
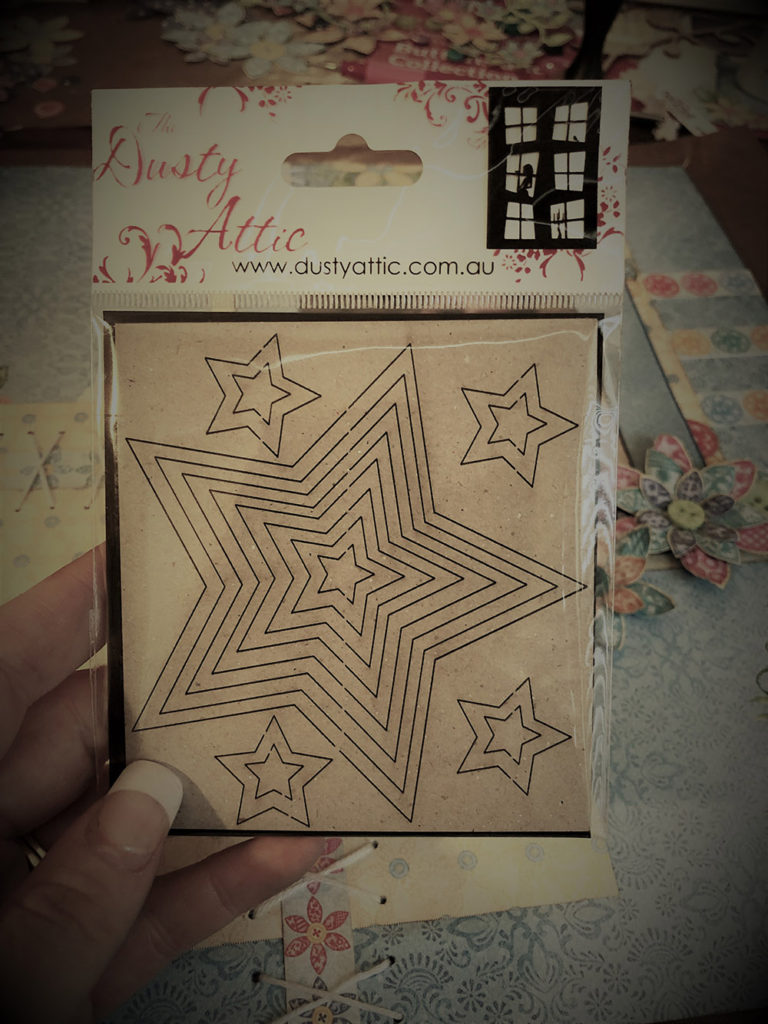
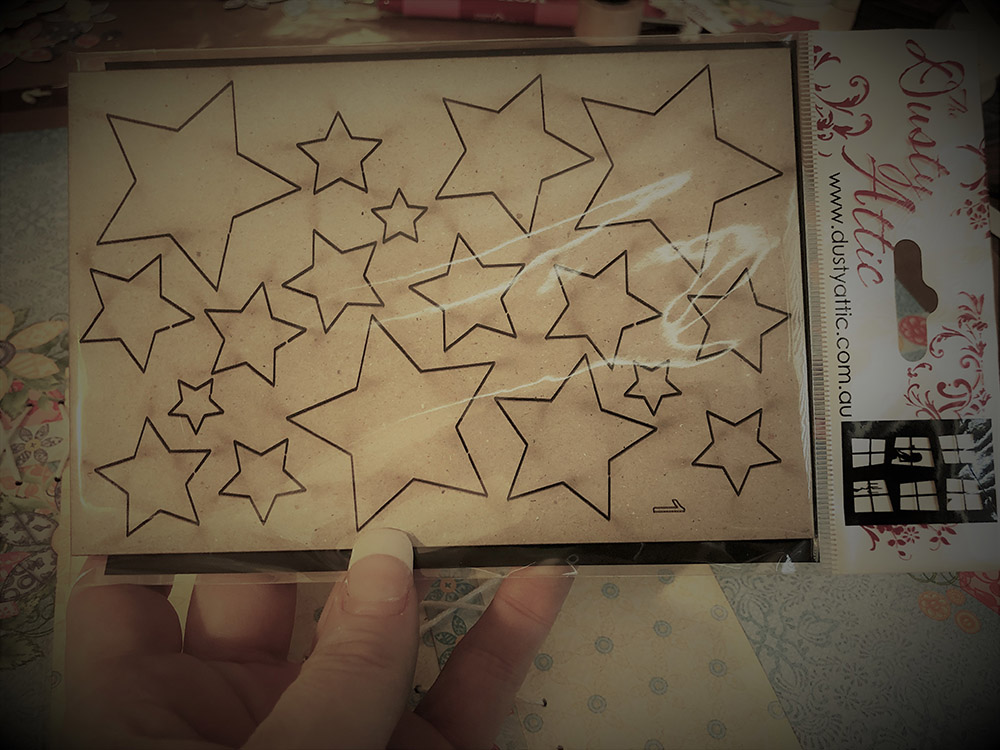
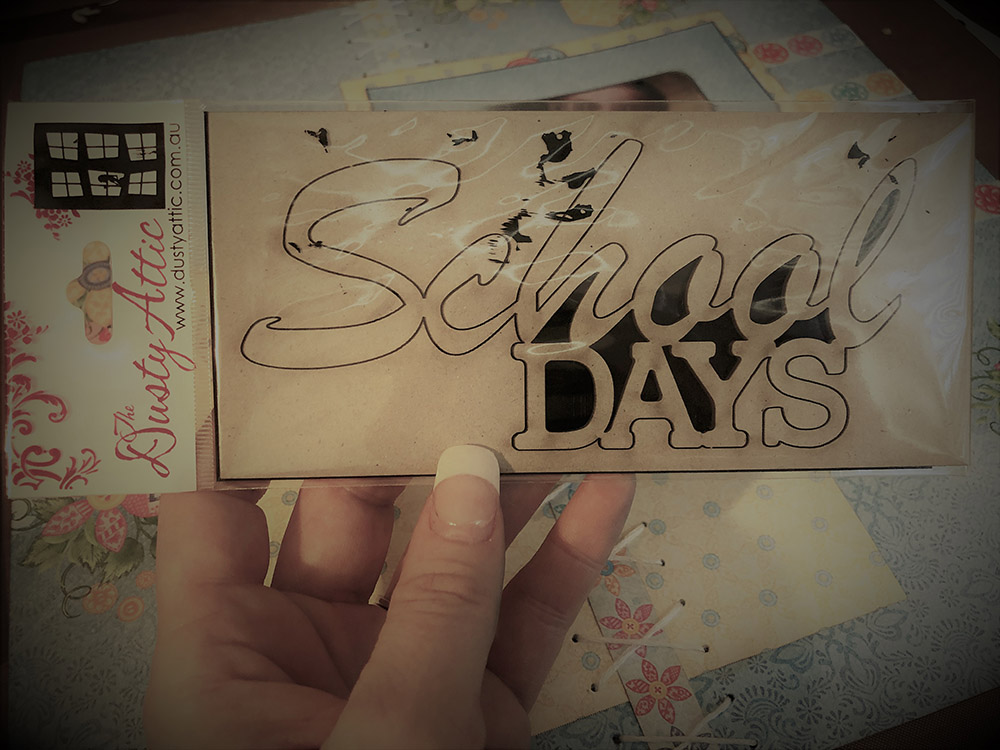
Next, I prepped my chipboard. I used bits of three different pieces from Dusty Attic. They’re my absolute favorite place to buy chipboard, but you can always substitute from another brand. The names of these are Stars #1, School Days, and Star Frames.
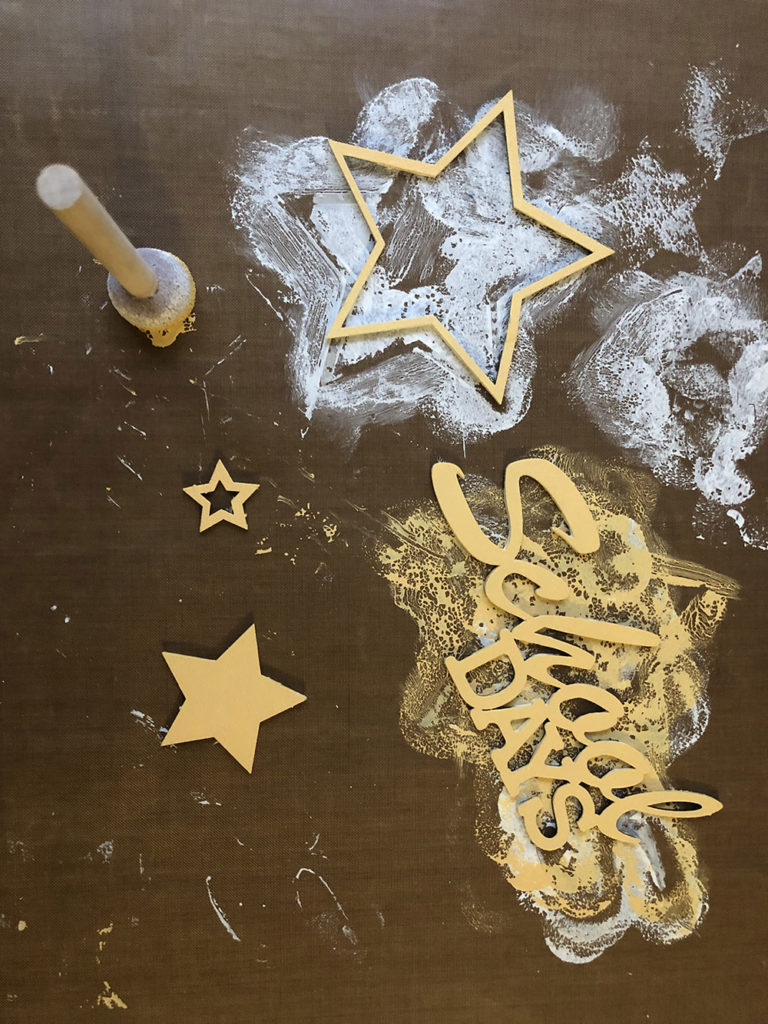
For painting chipboard, I always like to use a sponge dauber and start with a coat of white gesso. It doesn’t take long to dry and then you can coat it with another paint or just leave it white. The color of paint I used for these is called Vanilla Custard.
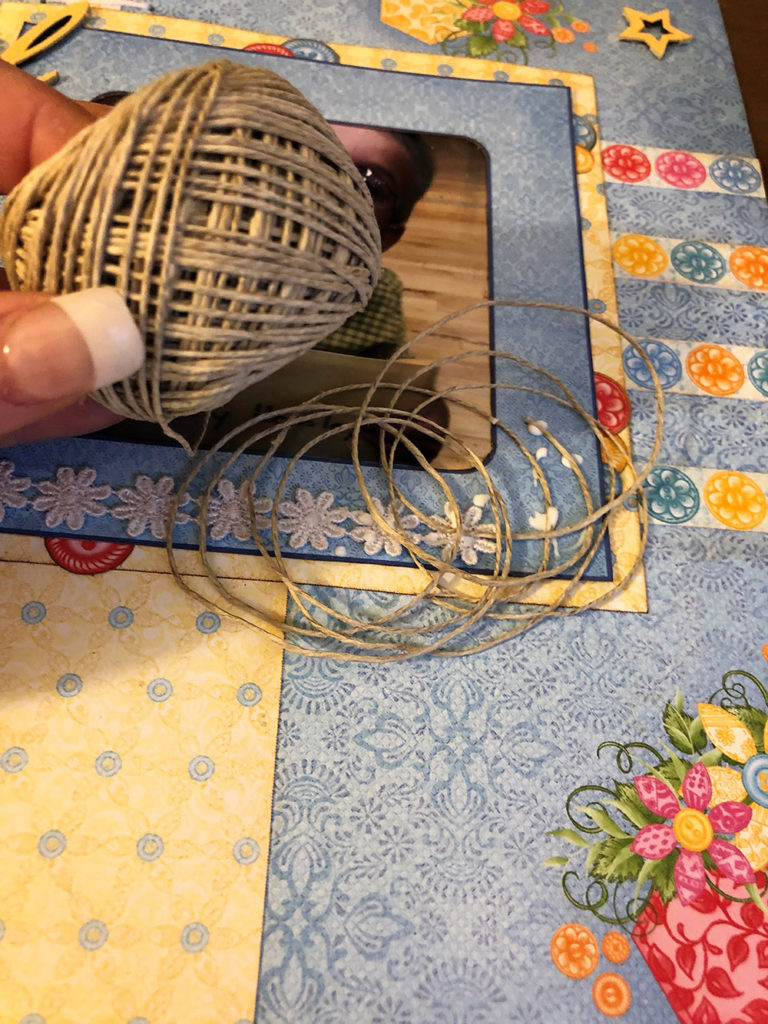
While I waited for the paint to dry on the chipboard, I took a small bit of twine I had lying around and wrapped it around three of my fingers to form circles before gluing it to the corner of the photo frame.
And then I had fun placing buttons and flowers and finally my dry chipboard on the page. I used a mix of the paper buttons and real buttons in a variety of places, you can use as many or as few as you like and make the page your own! If you have bits left over you can always make a card out of them!
