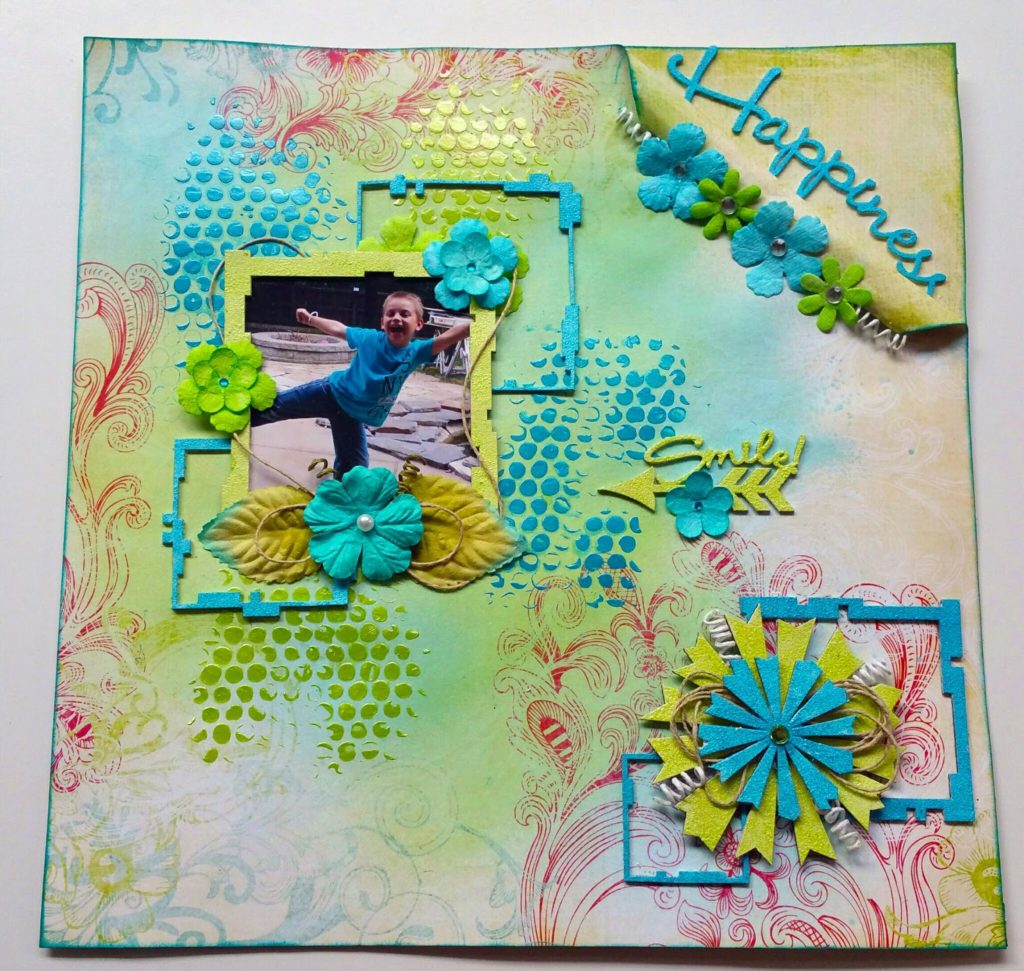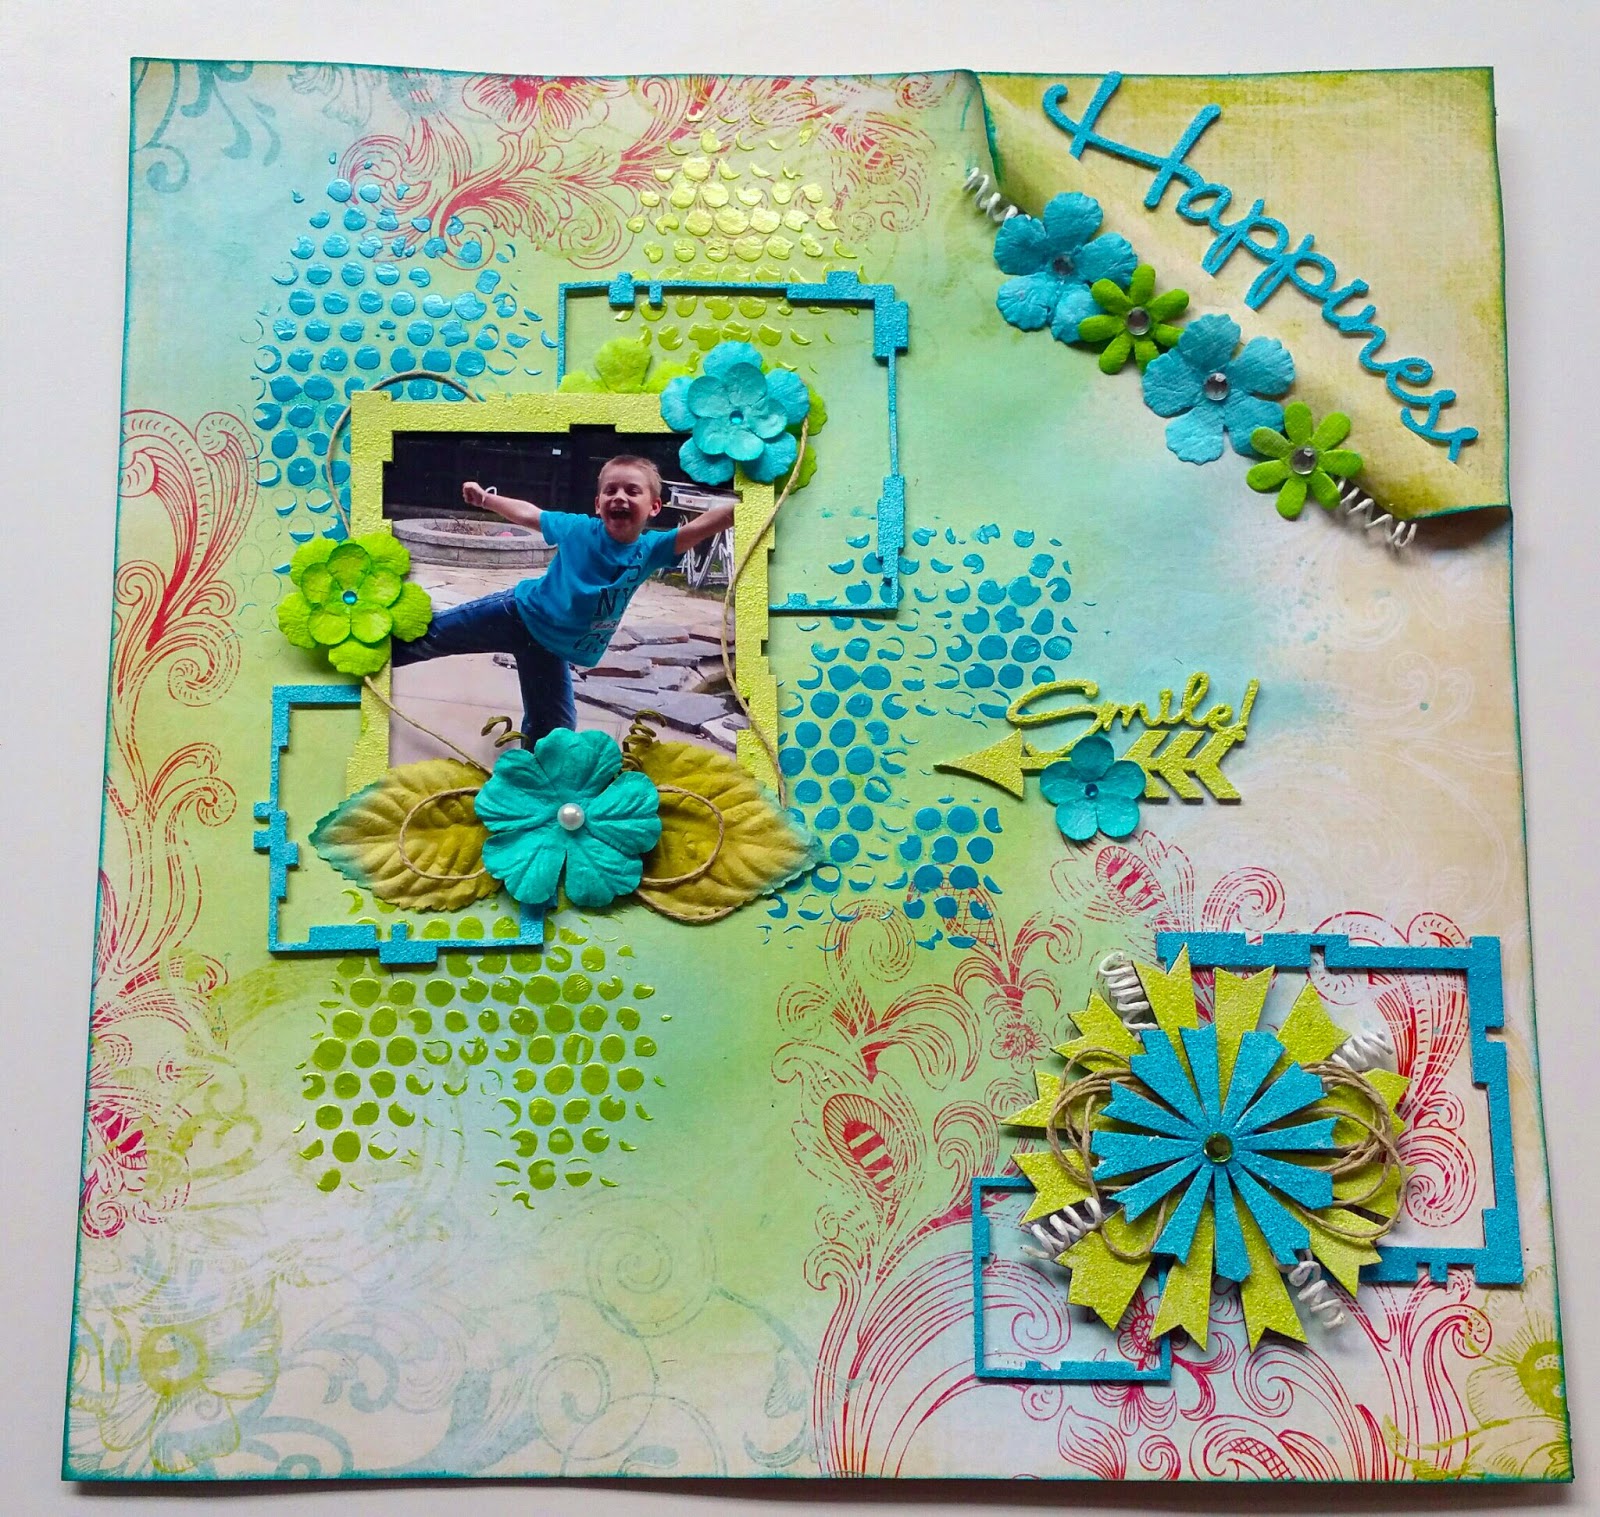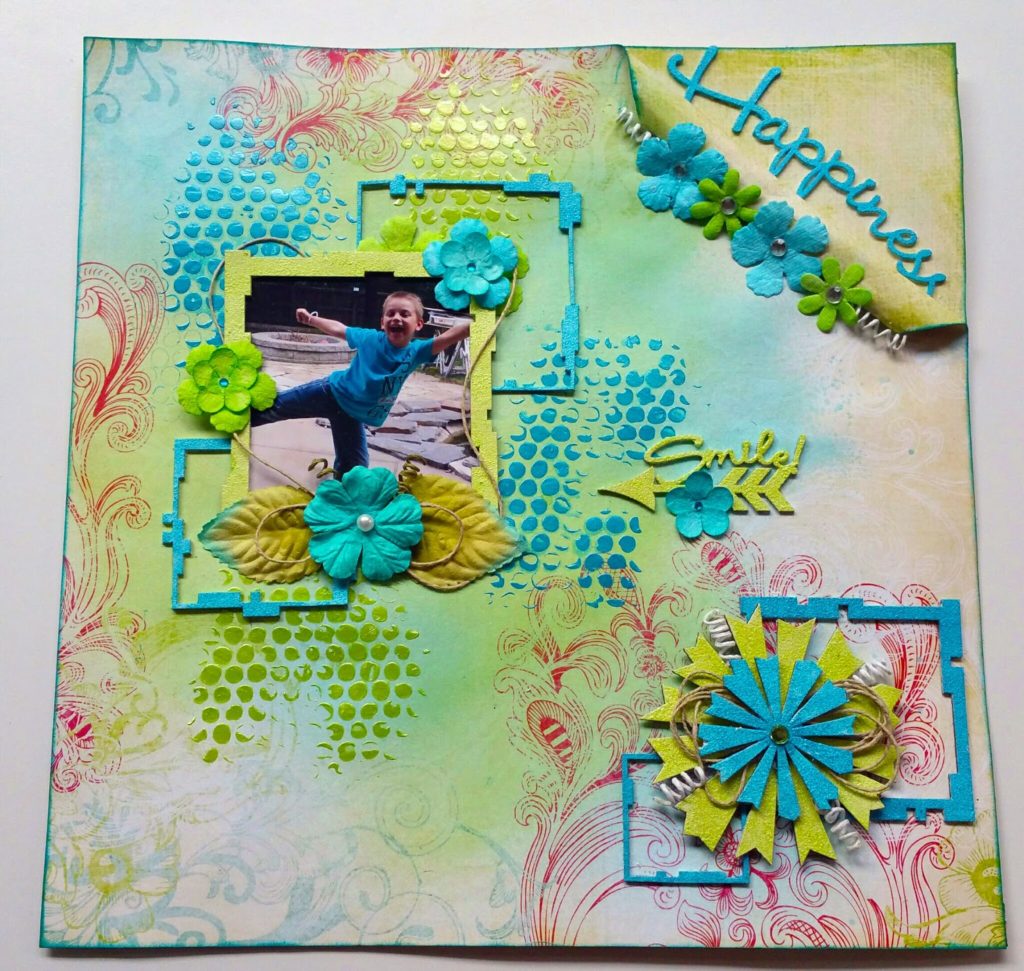
As you can see I decided bold and bright would make a good layout today! Plus the flower burst chippies reminded me of fireworks so I was excited to use them. This one has quite a few different pieces so I’ll start out with a supply list.
Aside from the scissors, glue, and gesso, I also used Tim Holtz Mermaid Lagoon Distress Ink along with the Tim Holtz Bubble stencil, Shimmerz Vibes colors Jeni B BLeu and Hermit the Frog, and two Shimmerz Dazzlerz, Sour Apple and Gummy Bear Blue.
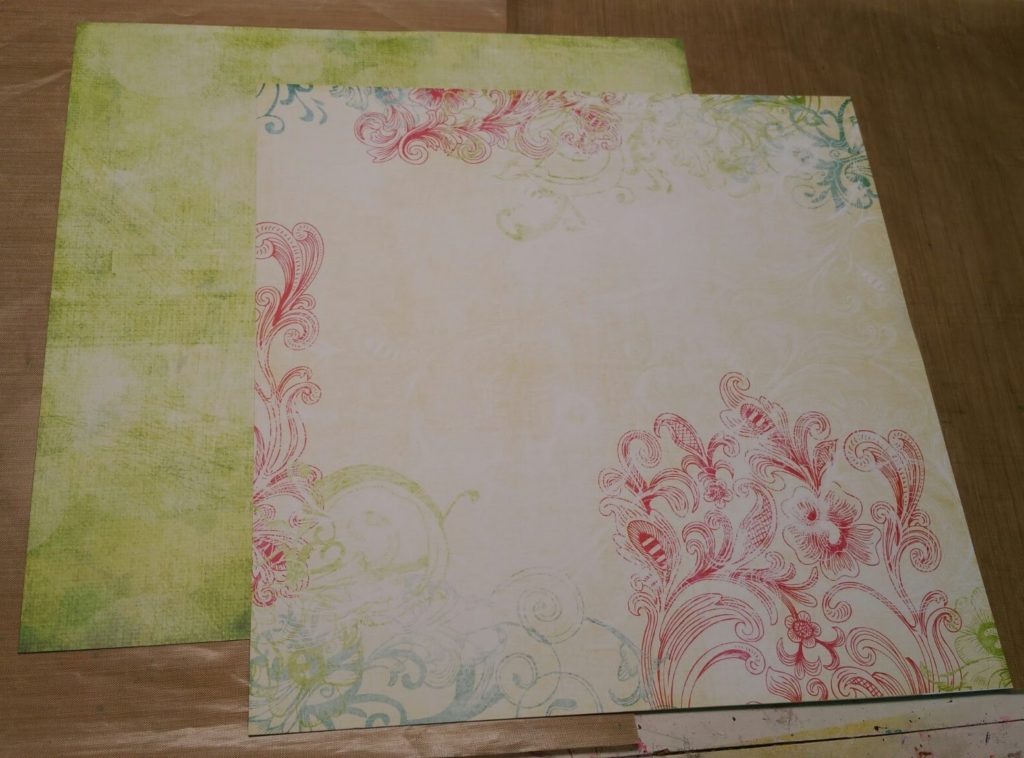
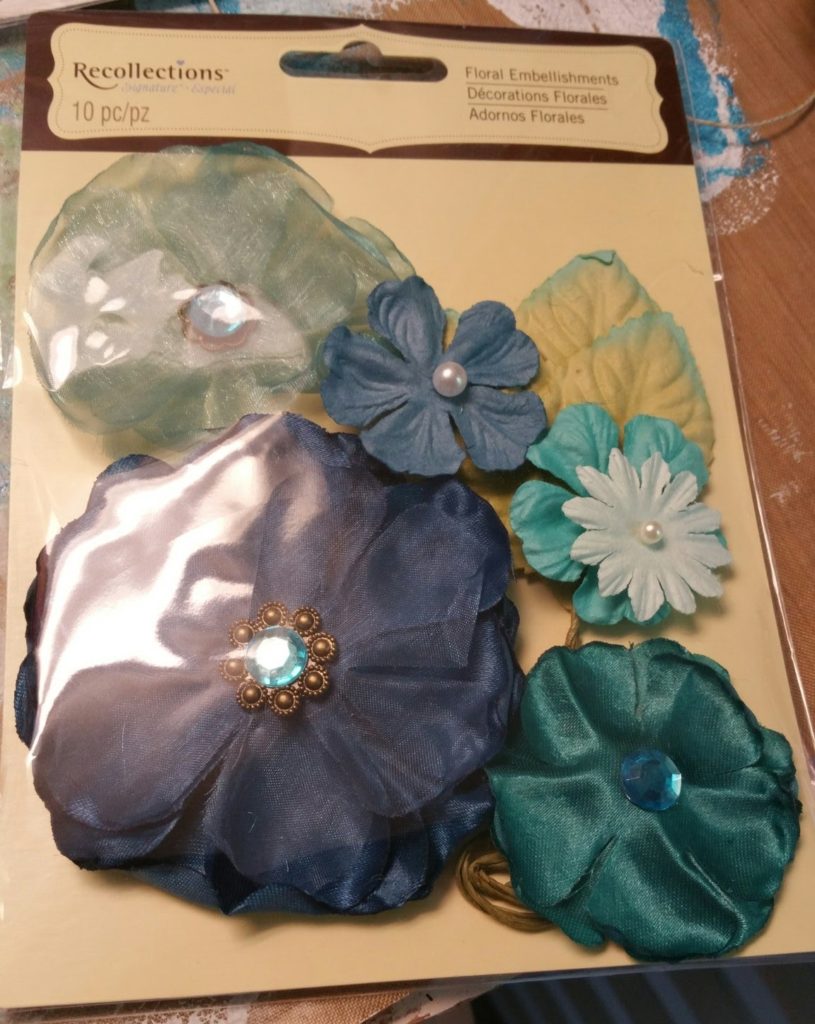
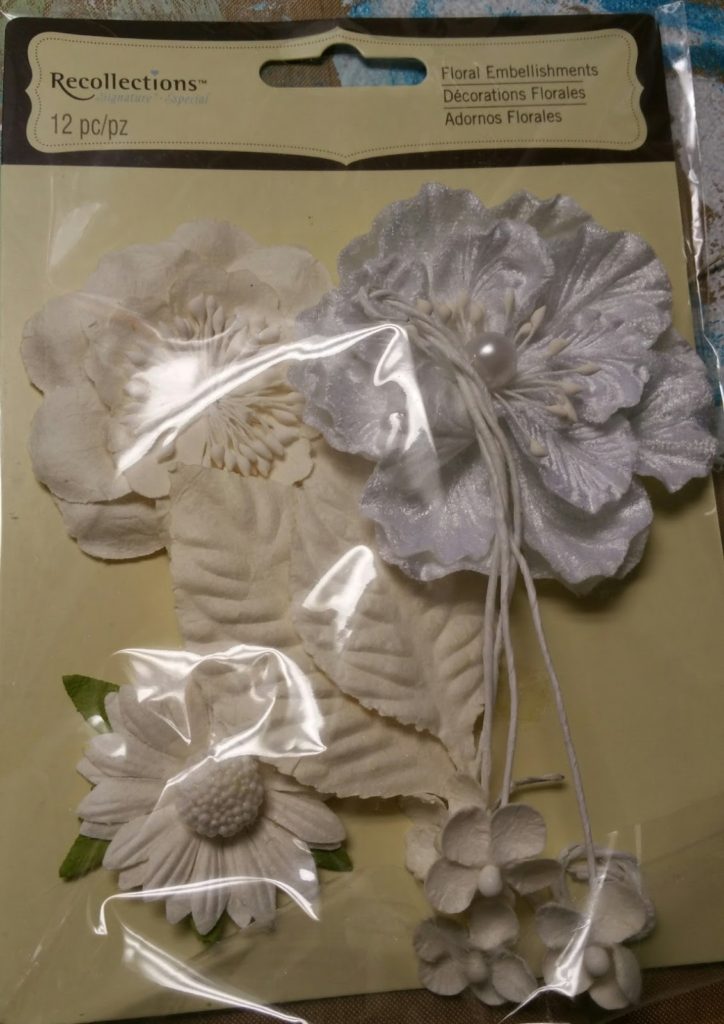
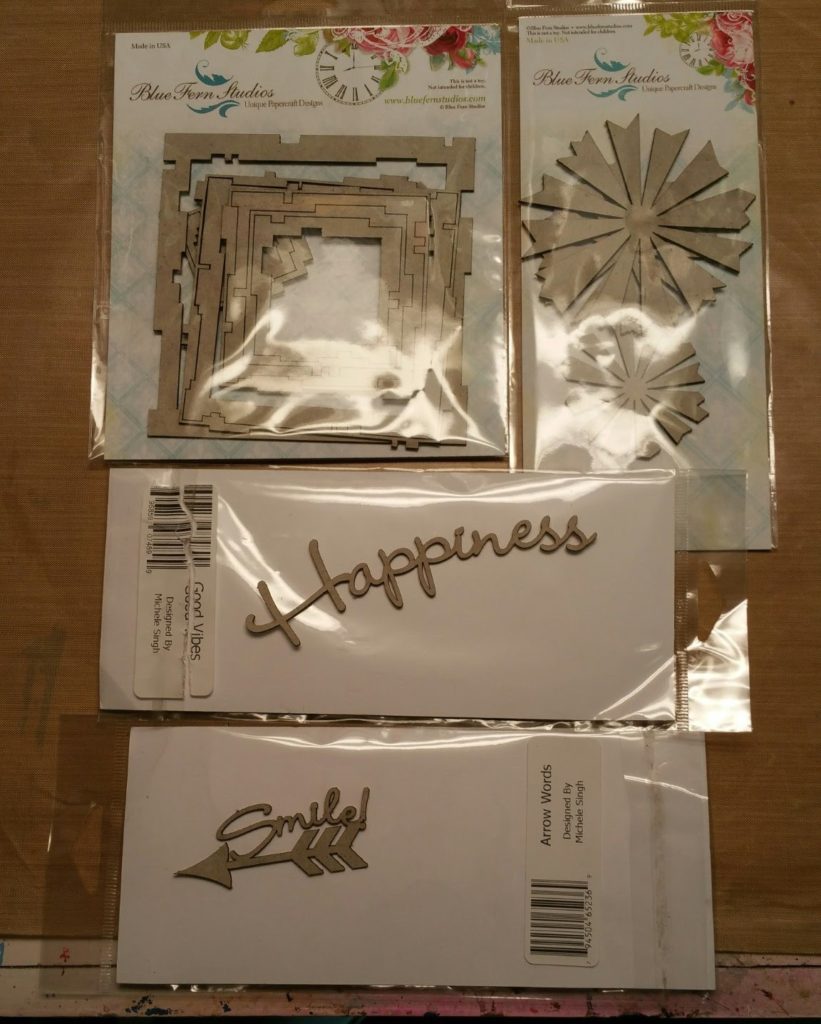
The paper is two pieces of Whimsy by Blue Fern Studios, I adore their patterned paper, beautiful and fun to work with. I used some of their lovely chipboard pieces as well, Techno Squares, Radiant Bursts, Good Vibes, and Arrow Words. Michael’s had some recollections flowers on clearance, as always, so I made use of a few pieces from both of these sets as well as some plain white recollection flowers I no longer had the packaging for.
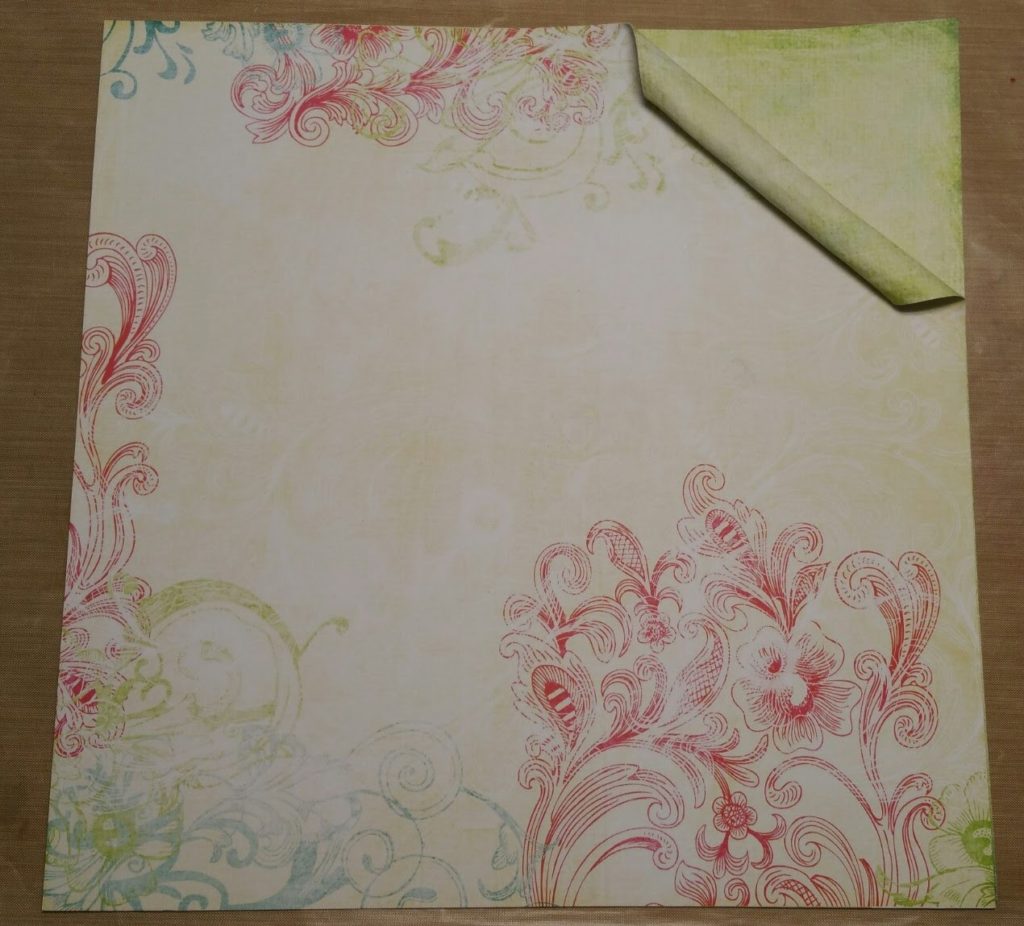
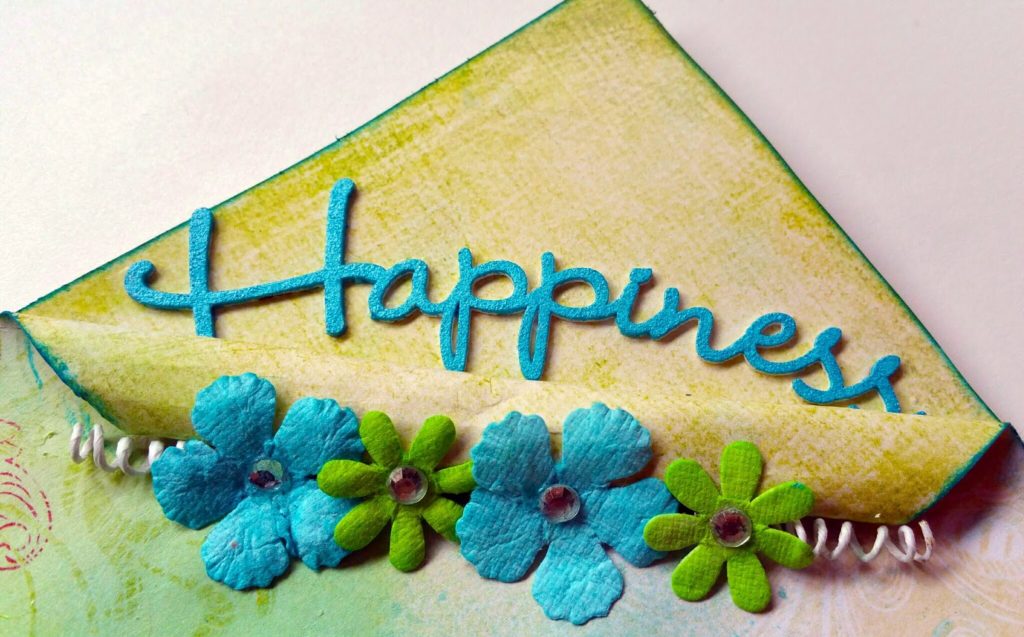
I started off by spritzing a little bit of water on the upper right corner of one of the sheets of paper and then dabbing it with a paper towel in order to make the paper a little more flexible and easy to work with. If you spritz it and it’s still tough to roll down you may just need a bit more water. Be careful not to add too much at once! I then rolled it gently down to expose the paper behind it and added a line of quick dry glue to hold it in place.
Once it held on it’s own, and the paper had finished drying, I used the Mermaid Lagoon ink to go around the edges of the paper. I usually use vintage photo for edging but this color fit too well not to use!
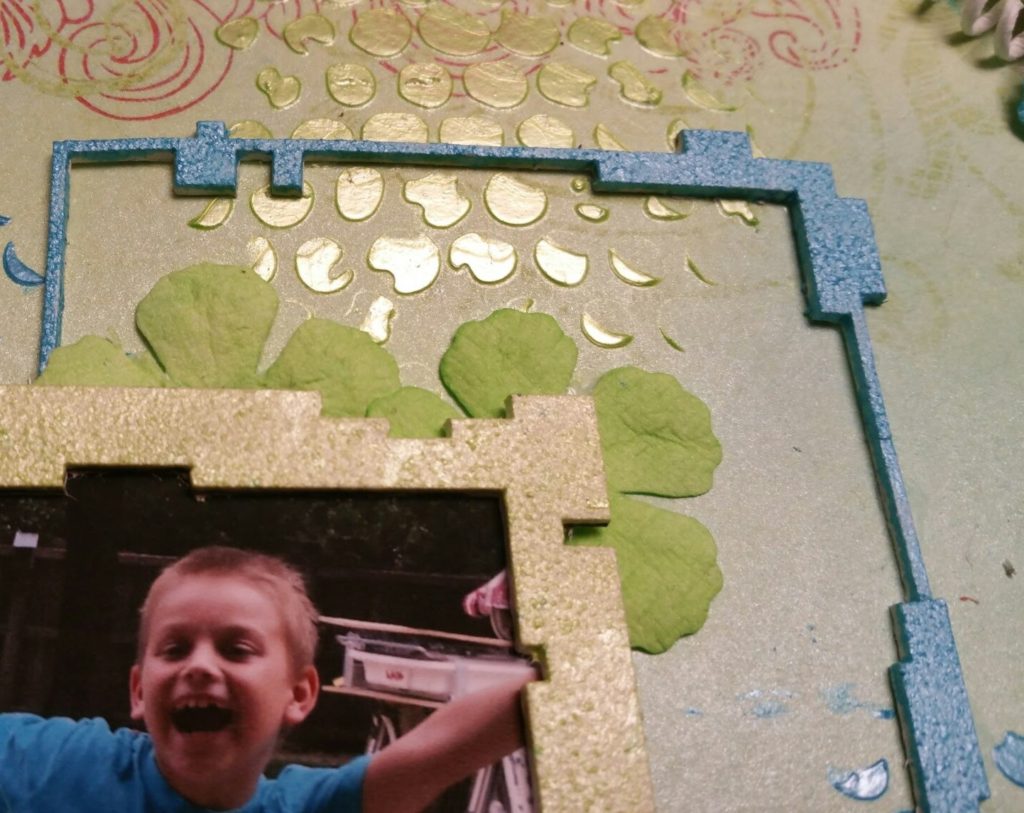
As you can see I used the two Shimmerz vibes colors here to spritz the background, there’s no real pattern to it just however much or little you want. I used a heat tool to dry it up a bit and then applied the Shimmerz texture paste using a Tim Holtz Bubble stencil. Again largely at random. Just be careful you put them close enough in that they will be somewhat covered by the squares later on. If you’d prefer not to guess, you can lay the squares down and use light pencil marks to see where they will be before you spray or put your texture paste down.
Texture paste is a bit different than paint and quite thick so when you apply it use a credit card or palette knife as opposed to a paintbrush. It also takes a good deal of time to dry. You can use the heat tool on it but it won’t dry completely that way and you have to be careful not to make it bubble.
So this is a good time to work on painting your other parts or maybe go out to lunch. If you want to check the paste and see if it’s dry just lightly touch one of the bubbles close to the inside that will be covered later by the squares, that way if it isn’t you don’t have to worry about messing something up people will see.
I chose to take the time and start working on the chipboard pieces. I layed them all out and then used a sponge pouncer to coat them in gesso. I did two coats just to be safe.

Once I finished pouncing I picked them each up once to be sure they didn’t get stuck to my craft mat, set them back down, and dried them with the heat tool. Normally I’d use paint at this point but the texture paste was so beautiful I decided to use it instead! So I got a smaller pouncy sponge and used the Gummy Bear Blue and Sour Apple to coat the pieces in green and blue. Again two coats.
While I waited for that to dry I used the sprays again to color the white flowers I had leftover from a previous project. I also took the smaller flowers out of the recollection package and sprayed three of them after cutting all of them off their wire. I didn’t need all of the flowers but I did use all the wire stems to make the springy coils (yes that’s a term, and if it’s not, it is now!) that I tucked into the radiant burst and upper page corner. Once I finished spraying the three flowers and dried them I actually carefully pulled the centerpieces out of them and replaced them with Bo Bunny aqua gems to better match the layout.
After everything dried nicely I set to work on putting it on the page, I glued the top page to the back piece and then glued happiness right above the rolled paper. The white springy coils are very easy to make, remember the stems we cut off the white flowers? Just wrap them around something, I use the end of a small paintbrush, once they’re all wrapped around it just pull it straight off the end and flatten one of the sides back out to have something to glue down. Voila! Tuck them in wherever you want them.
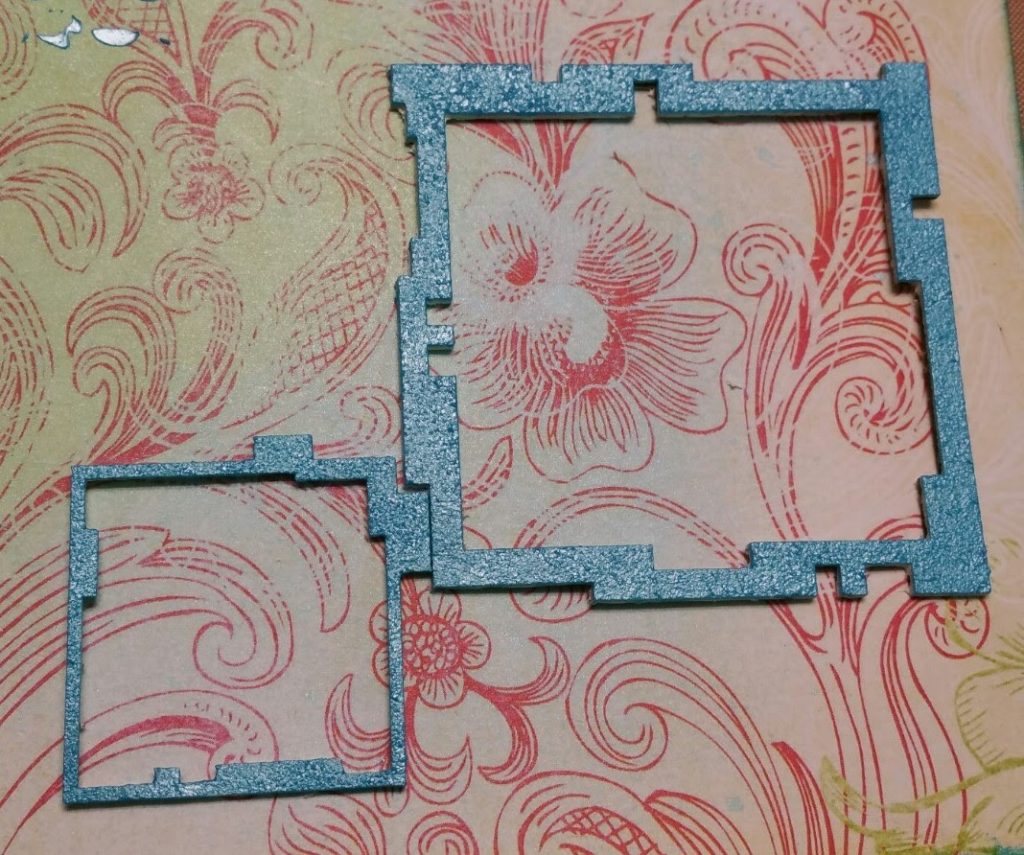
I then nestled two of the squares together in the lower right corner and glued them to the page.
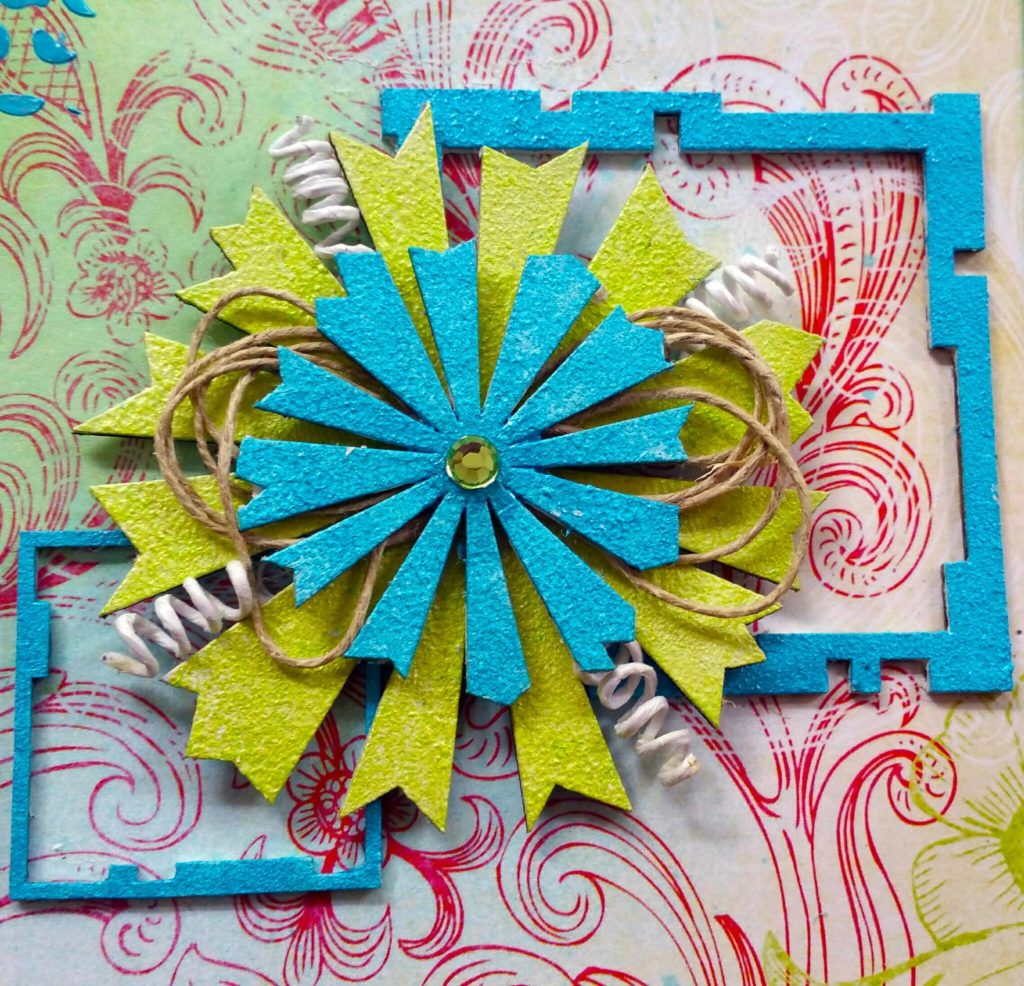
From there I made a small bow out of twine and glued it between the two Radiant Burst chippies before I affixed them to the squares. As you can see I also added four more of the springy coils. Lastly I placed a green Jewel on top of the bursts. Sorry guys not sure where this one came from, could have been Recollections or Bo Bunny.
I took the three remaining squares and put my picture in the thicker one, while that dried I affixed the other two and then glued the one with the photo to the top of them. Perfectly enough this left just a bit of room to tuck things under the corners. you could use more flowers, ribbon, colored cheese cloth, or any number of other things to tuck under there, but I wanted to stay simple so I just tucked the two green flowers in and called it good.
I decided I really didn’t like all the large clear jewels so I took two of the flowers and removed the jewels and then glued the smaller flowers with the Bo Bunny Jewels to the center before placing them on the frame. The leaves and the flower from the second recollection package were next. I glued the leaves down and then made a one loop bow and glued it to the leaves, followed by the flower. The brown springy coils were the stems on the two leaves. I left the bow I made with long tails and tucked them around the edges of the frame with a tiny bit of glue.
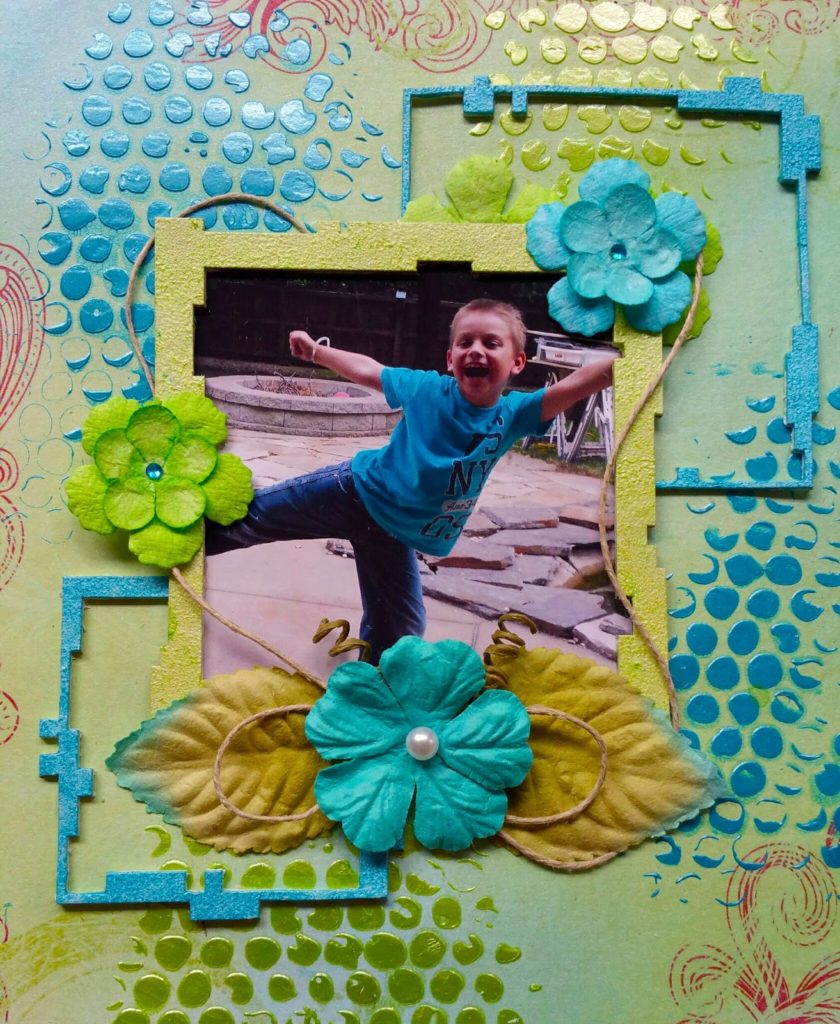
To finish it I affixed the smile arrow and the remaining small flower with the Bo Bunny jewel. And DONE!
