Hello and welcome back to The Imaginarium! I recently did a class on this beautiful love story paper, We had so much fun doing it and I’m sure those who missed it will have fun scrapping at home too. It’s another simple one, and really shows off how you can make lovely pages with just a few things.
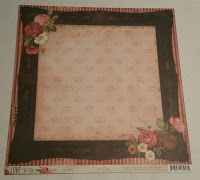
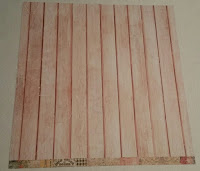
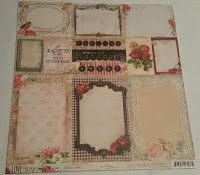
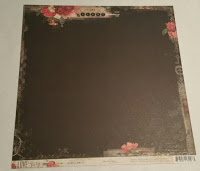
When I was making this layout for class I started out with these four amazing pages and ofcourse trimmed off the bottom pieces. Don’t toss out those edge pieces! They’re just as beautiful as the paper and we will use some of them a bit later. I then put my small scissors to work and fussy cut the large black frame and placed it aside as well. You’ll be doing a lot of cutting on this one so make sure you’re using a good pair of scissors!
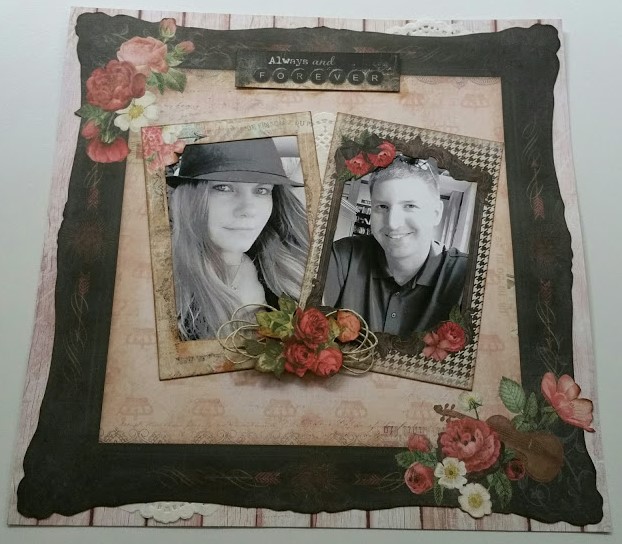
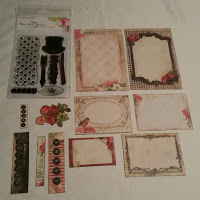
After I finished the frame, I cut out the two larger frames pictured to the left as well as the four smaller cards, the sweet section, the larger flower card, and always and forever. Once I completed that I went back and fussy cut the flowers. You do end up with a few pieces leftover that you can use for other projects later. Some of the leftover bits would make lovely cards!
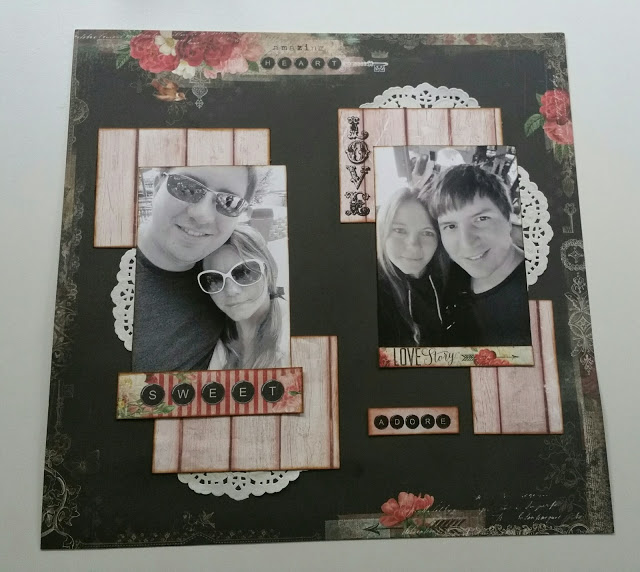
For the small adore label and the love story banner, I used those bottom pieces. (See, I told you we would use them!) I stamped adore onto the pink wood scrap piece with Blue Ferns Love story 2 stamp and then trimmed it to the appropriate size and cut off the love story just a bit after the arrow.
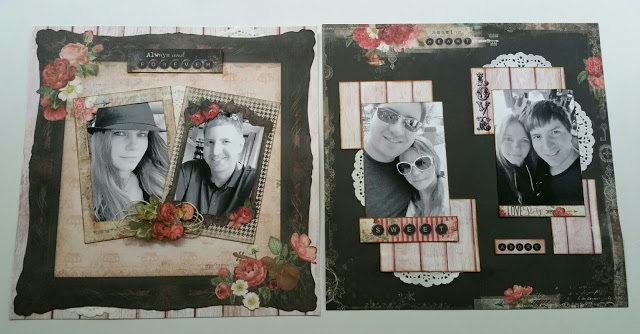
In the original, as shown above, I also cut out the inside of the two larger frames for my black and white photos, some of the ladies in my class left them intact and you could alternatively do that and just tack smaller photos to the surface as well.
Once I finally finished all the cutting and fussing and gave my poor hands a break, (and maybe had some ice cream… ) I used Tim Holtz Vintage photo ink and a blending tool to lightly touch up the edges of everything I cut out. It gives it just a touch of the vintage look but more importantly, it covers up those little white spots you get when you cut something out and makes it look like it came that way originally! Just one of those nice little things that you don’t necessarily notice is there but really makes a difference.
When everything was all inked and dry I placed the black frame over the pink wood page and cut a standard paper doily into three sections. Two of them I tucked under the upper right and lower left sides of the page and glued them all down with Tombow glue.
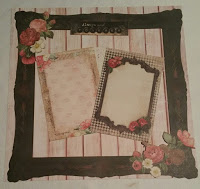
NOTE: Alternatively I also did one where we cut out the inside of the frame so we could see more of that beautiful pink. If you do this you’ll want to trim your doilies more and glue them to the frame itself before gluing it down if you still want to use them.
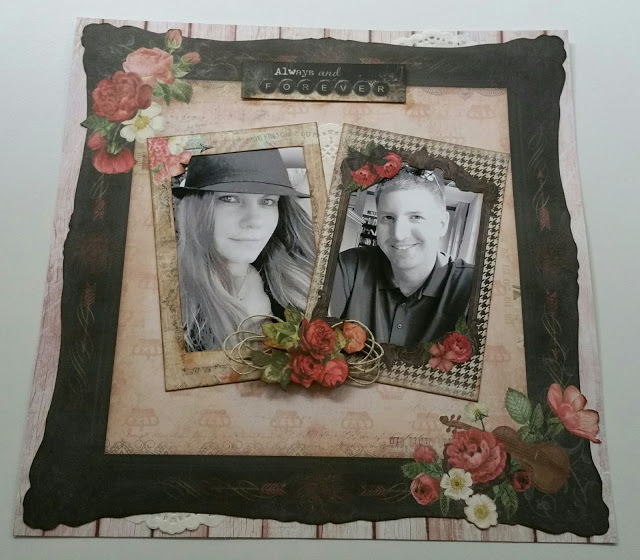
If you’ve cut out the small frames you’ll want to glue them to your photos at this point and arrange them on your page with the third doily piece snuggled between them. Once you have it placed where you want it to go ahead and glue those down as well. For the always and forever card I used glue dots to the center at the top and give it a bit of a 3D look. Lastly, I took a piece of twine, wrapped it around my hand four times, and twisted the middle twice to make a bow that I glued the flower on top of to pull it all together. Perfect!
For the second page I really fussed around arranging them before I even thought about glue, below I’ve pictured the cards turned around so you can see which ones go where.
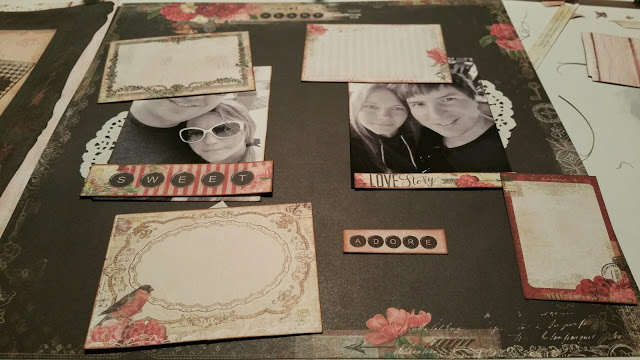
In the upper right card I used the LOVE stamp from the same collection shown above, and as you can see I cut two doilies in half and tucked them under bits and pieces on both the left and right-hand side. While I didn’t think to do it at the time it would likely be quite a bit easier to glue the doilies to the scraps and photos before affixing them to the page. I used glue dots again on Sweet, Adore, and Love story to give the slightly 3D look. I then Glued everything in its rightful place and congratulated myself on surviving all that cutting! This second page is a really good example of where the Tombow multi glue comes in super handy because you do have to fuss with it a bit to make sure it’s just right and the multi glue allows you to reposition things.
